Watercolor Woodland Nursery Wall Art: Let One Wall Tell a Tiny Story
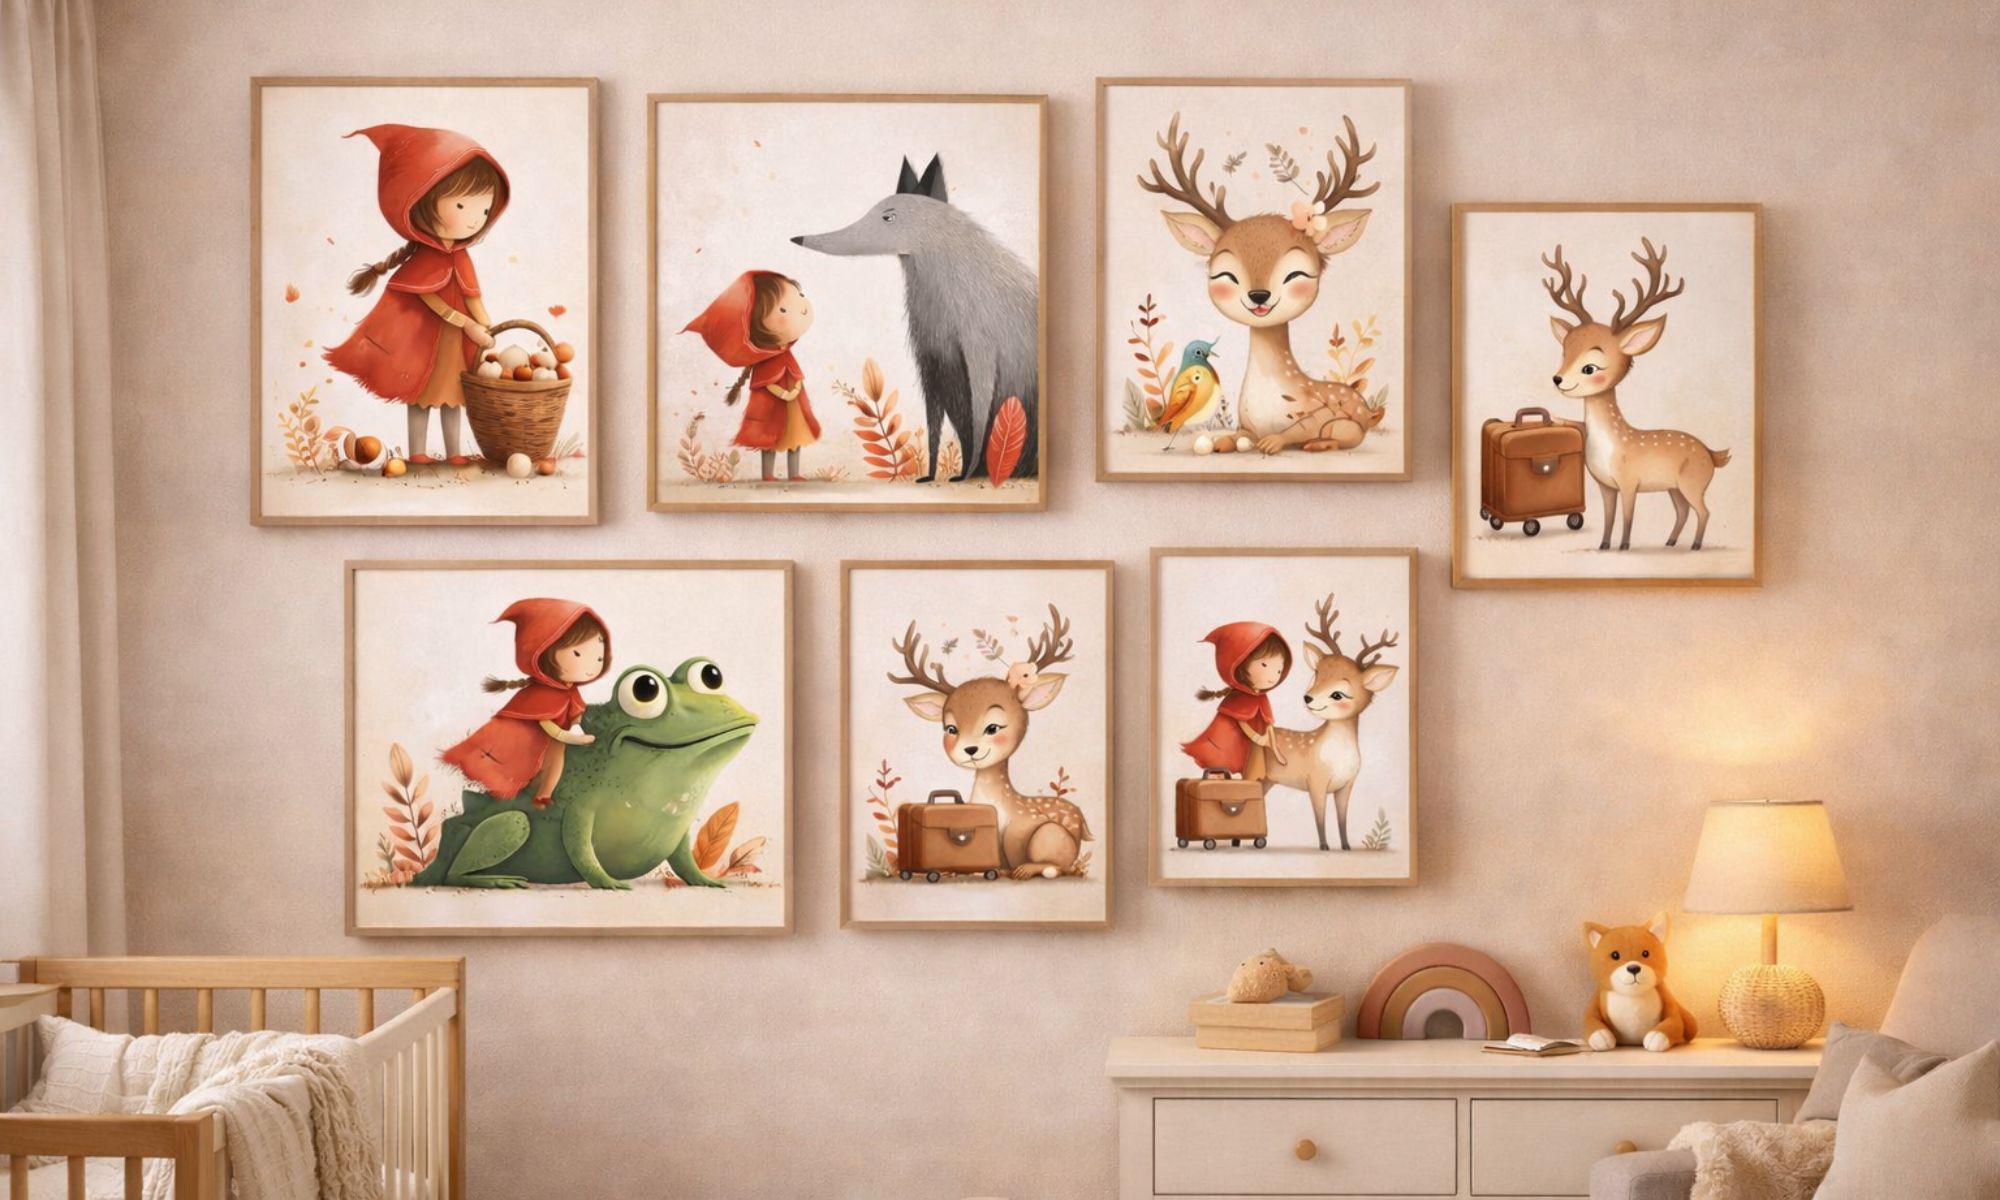
Soft watercolor woodland animals that turn one empty wall into a tiny storybook scene.
Hey, I am Mădălina, the mama behind BytesOfUs, and this is another tiny piece of cozy inspiration for your kids’ spaces.
If you are anything like me, there is always one wall in the nursery that stays empty for way too long. You know it would look beautiful with art, but scrolling through endless prints and posters feels overwhelming.
That is how this little woodland world was born. I did not start with "wall art." I started with a tiny story... then used Midjourney to create a matching set of watercolor-style characters that all felt like they belonged in the same picture book.
Today I will show you two paths:
- how to create your own woodland characters + story with AI (the fun part), and
- how to turn them into calm nursery wall art in a way that does not feel overwhelming.
Today I want to show you how you can do the same: create a woodland nursery gallery wall using printable watercolor animals like my little deer and her friends.
Want to copy this look without starting from scratch?
If you're building a woodland nursery wall and you just want the files ready, the Watercolor Storybook Characters set is available in our shop (high-res PNG + JPG). It's made for gallery walls, name prints, milestone cards, and soft nursery decor.
Get the Watercolor Storybook Characters set → in our shop
Why watercolor woodland animals work so well in a nursery
When I started decorating, I knew I wanted something that felt:
- calm and gentle for bedtime
- playful enough for daytime stories
- timeless, so it would still feel right in a few years
Watercolor woodland animals tick all those boxes. The soft browns, creams, and muted greens blend easily with almost any nursery color scheme. The animals feel friendly and familiar, like characters from a favorite picture book. It is also a very gender neutral theme, which makes it perfect for shared rooms or when you are decorating before baby is born.
Create a watercolor woodland wall in 2 parts (characters first, wall second)
Part 1 is the creative part: making a tiny cast of characters that all share the same soft storybook style.
Part 2 is the easy part: arranging and printing them as a calm gallery wall.
Part 1: Create your watercolor woodland characters with Midjourney
Think of this like building a tiny picture book cast. You do not need 50 animals, you need 3-6 characters that feel like they live in the same world.
Step 1: Choose a "mini story" (30 seconds)
Pick one simple theme and repeat it:
- "A gentle forest morning"
- "Reading in the meadow"
- "A tiny woodland tea party"
Step 2: Lock your style anchors (this is what keeps the set consistent)
Keep these the same across all characters:
- watercolor / storybook illustration feel
- warm muted palette (caramel, sage, blush, warm white)
- simple cream background
- square composition for easy printing
Step 3: Generate your cast (simple prompt ingredients)
I build each character prompt from the same ingredients: who (animal) + action (one gentle thing) + one prop (book or flower) + watercolor storybook feel + muted palette + simple background.
If you want the exact repeatable structure I use (so you can swap ingredients without rewriting everything), my Midjourney prompt guides live here: beacons.ai/bytesofus .
If you want a deeper Midjourney walkthrough (without the "techy" vibe), I wrote it here: Whimsical Hand-Drawn Characters With AI .
Part 2: Turn that into wall art
Step 1: Pick a tiny “story” for your wall
Instead of thinking “I need six prints”, I like to ask: what little story do I want this wall to tell?
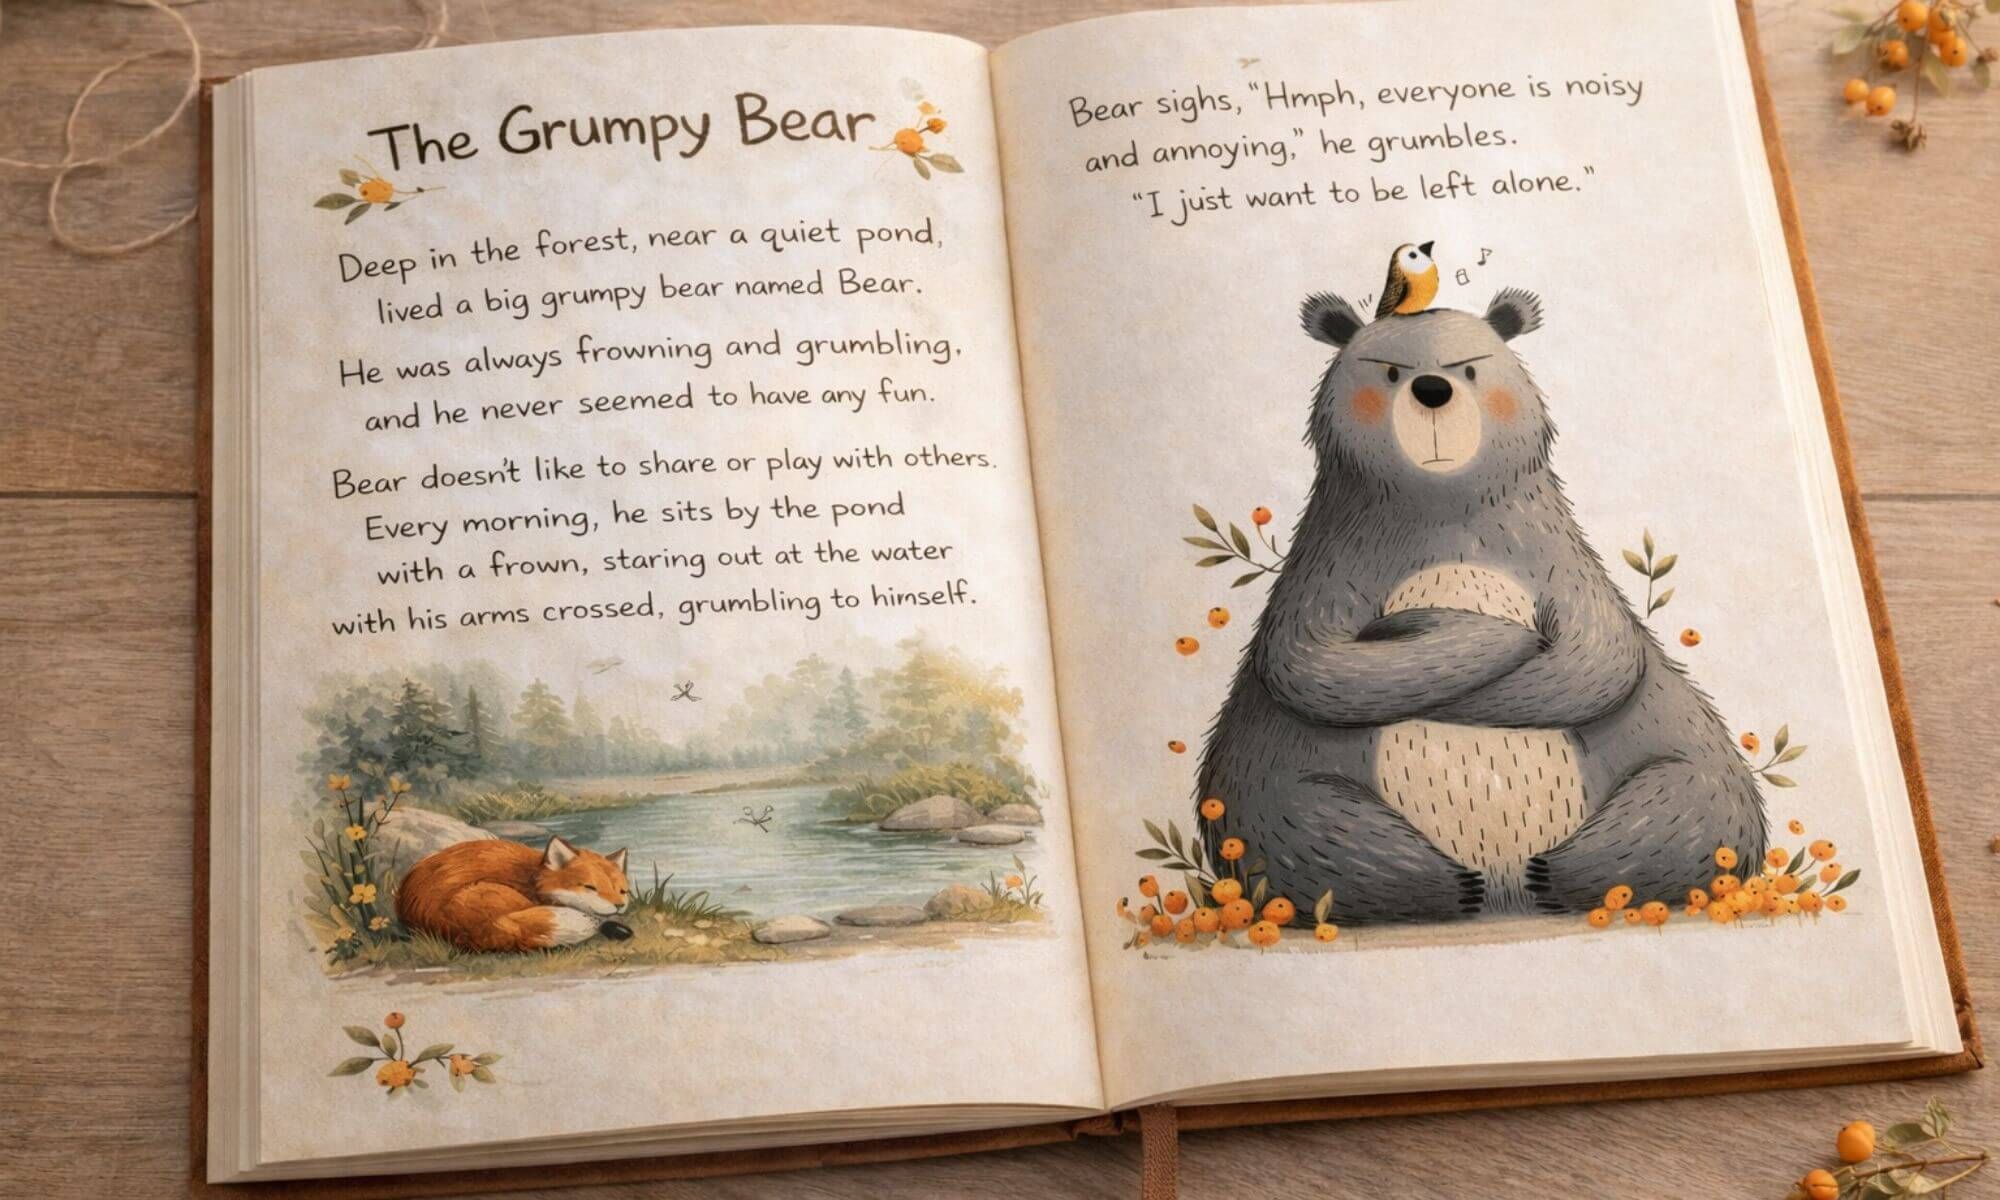
I usually build a tiny narrative by giving one character three moments (same character, different actions). For example:
- a smiling deer surrounded by flowers
- a curious deer reading a book
- a gentle deer next to a small bird
You can create these moments with Midjourney (Part 1 above), or use any characters you already love. Once you have a mini story, choosing what to print becomes easy.
Step 2: Choose your gallery wall layout
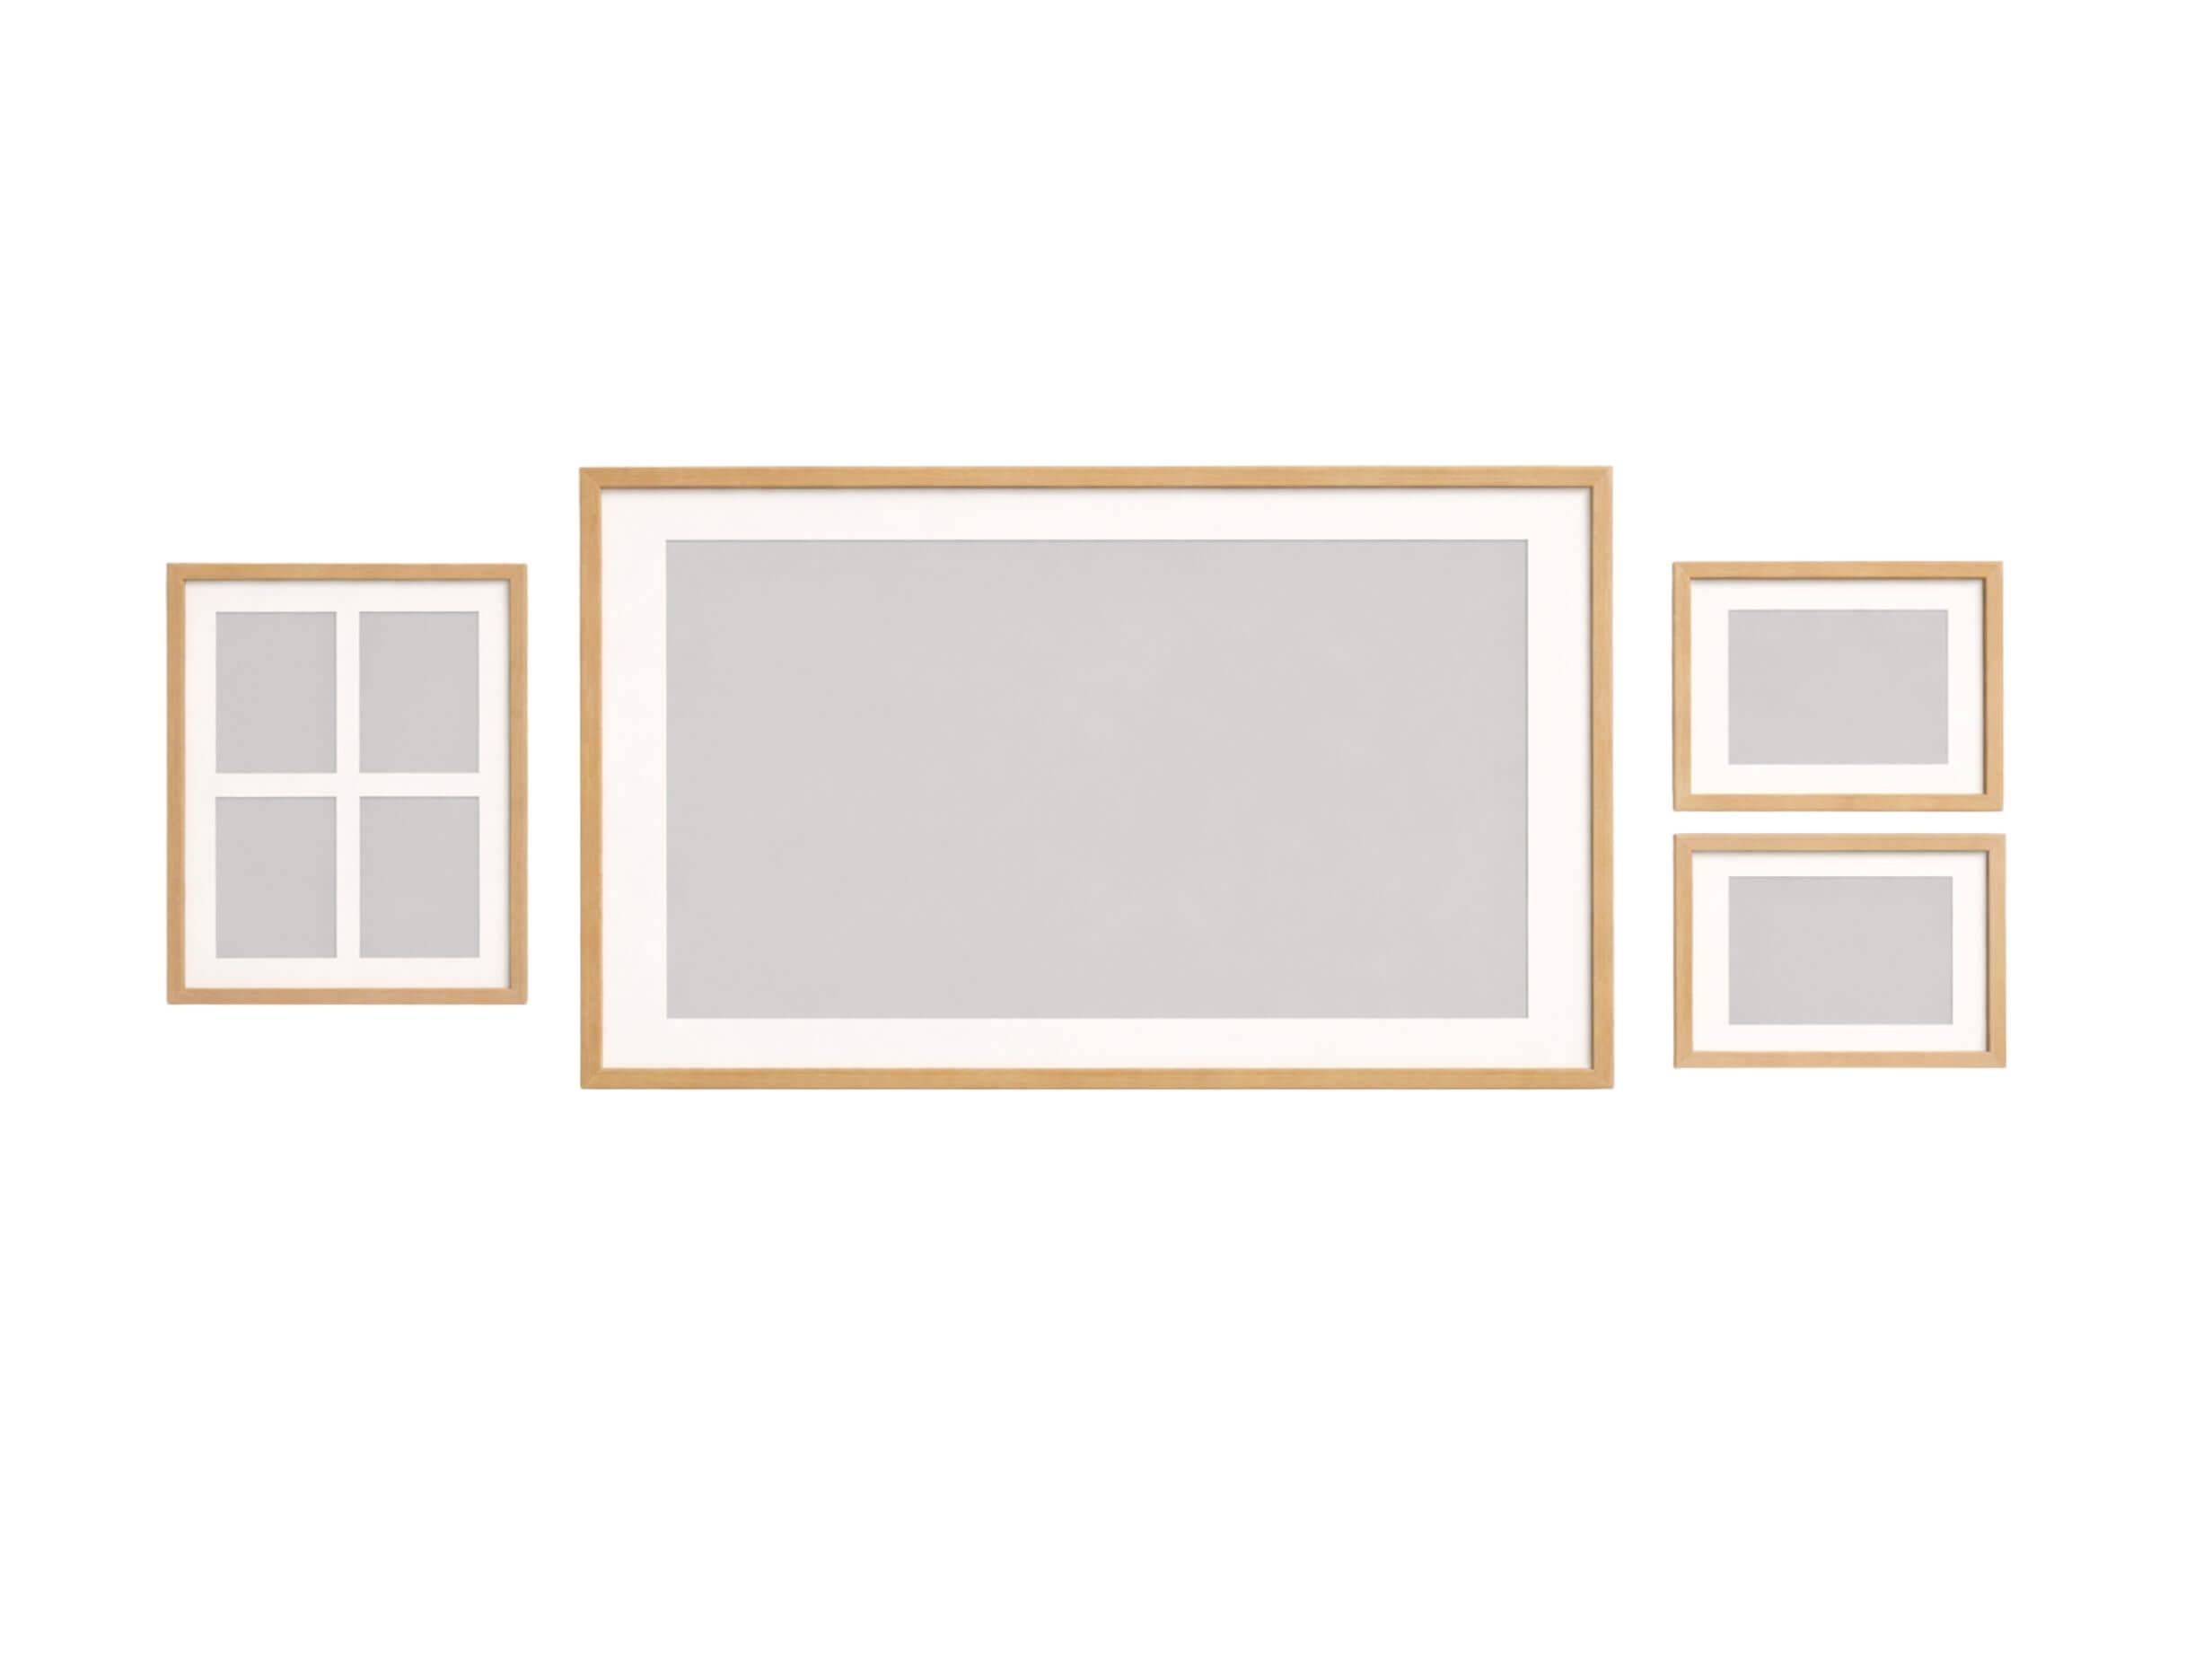
Three layouts that always look calm (even in small rooms)
You do not need a huge wall to make an impact. Here are a few simple layouts that work beautifully with square watercolor prints:
- The "3 in a row": perfect above a crib or dresser (simple, airy, quick)
- The "2x2 grid": best for a reading corner (feels tidy and intentional)
- The "hero + two companions": one larger print in the center, two smaller on the sides (storybook vibe)
If you're not sure, pick hero + two. It gives you a focal point and still feels soft.
If your files are high resolution (my Watercolor Storybook Characters are 4000 × 4000 px at 300 DPI), you can comfortably print them as:
- 20 × 20 cm or 30 × 30 cm squares
- letter size or A4 for a slightly taller look
Pick a size that feels balanced with your furniture and the distance from where you will usually see the wall.
Step 3: Build a soft woodland colour palette
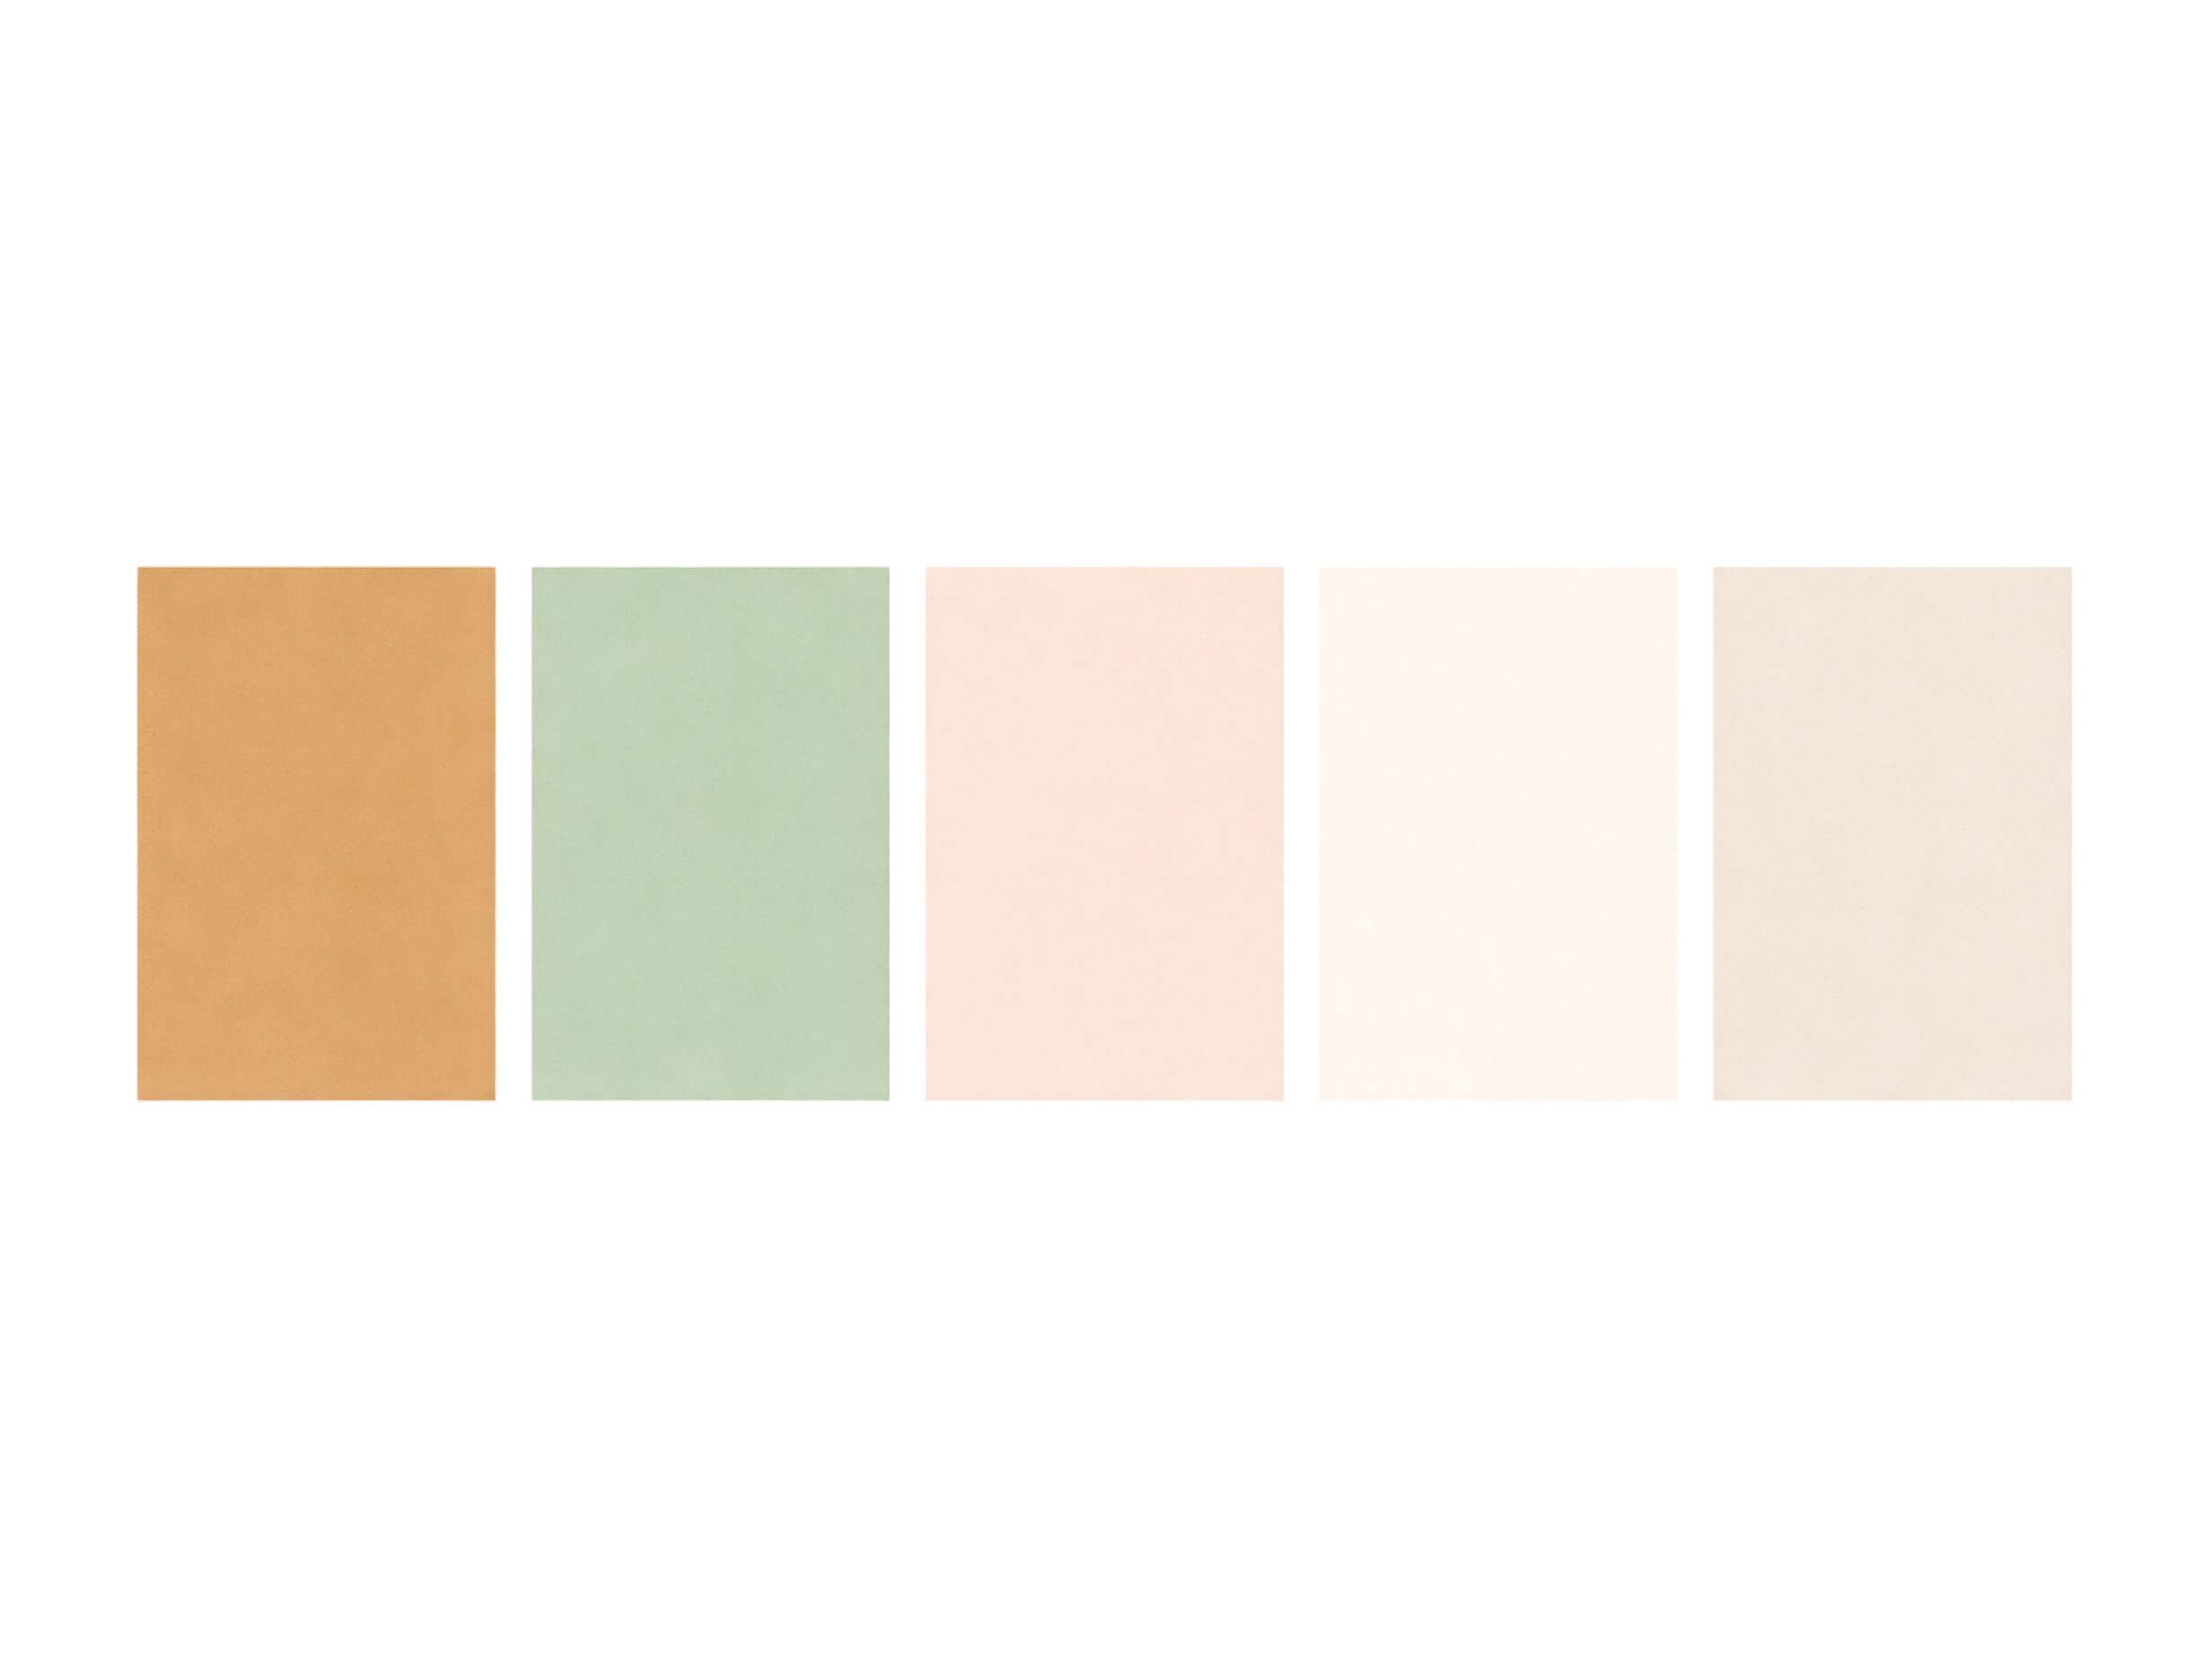
To keep the gallery wall cohesive, I like to pull three or four colours out of the illustrations and repeat them in the room:
- warm caramel or honey tones from the deer’s fur
- soft greens from the leaves
- a little blush pink or peach from flowers and cheeks
- a grounding neutral like beige or warm white
You can repeat these tones in:
- the crib sheets or blanket
- a simple rug
- a cushion in the reading corner
- baskets or storage boxes
This trick makes the whole nursery feel intentionally designed, even if you are just using printable wall art and a few accessories.
My easiest palette rule (so it never looks busy)
Choose one warm animal tone, one soft green, one blush, and one grounding neutral, then repeat those four colors around the room (textiles + baskets + rug).
If the wall art is detailed, keep the rest of the room quiet.
Step 4: Add a “words” print for extra meaning
I love mixing character art with one print that has text:
- your baby’s name in a pretty typeface
- a short quote like “You are so loved”
- an ABC or number print decorated with small leaves and branches
Quick Canva method (2 minutes)
- Create an A4 or Letter design
- Add your text (baby name / “You are so loved” / ABC)
- Place one small watercolor element in a corner (leaf, branch, flower)
- Keep lots of breathing room, that is what makes it feel expensive
- Export PDF Print (best for printing)
You can create that easily in Canva or any design tool by placing one of the watercolor elements near the text. It keeps everything in the same style and turns the wall into something both decorative and meaningful.
Tiny helper tools (so your wall art looks clean fast)
If you're putting your prints together on a laptop (or you're using photos from your phone), these two tiny tools can save a surprising amount of time:
1) If your file has a background you don't want
Sometimes you'll have a JPG on white (or a busy background) and you want it clean as a transparent PNG. A quick background remover can do that in seconds.
I've used Free Background Remover for quick cutouts when I'm assembling prints or mockups.
2) If your nursery photo won't upload (hello, iPhone HEIC)
iPhones often save images as HEIC, and some design tools don't love that format. FromHEICtoJPG converts HEIC to JPG right in your browser (no uploading is the nice part).
Tiny tip: once you have a JPG nursery photo, you can drop it into Canva and test your gallery wall layout before you hang anything.
Put it together (3 easy ways)
You don't need fancy software to make this look intentional. Pick the tool that feels easiest:
Option A: Canva (fast + beginner-friendly)
- Create an A4 or Letter design (or a square print size)
- Upload your character PNGs
- Arrange them with lots of breathing room
- Add your text (baby name or a short quote)
- Export as PDF Print for the sharpest result
Option B: Procreate (iPad + cozy, hands-on)
- Create a canvas at print size
- Place your PNG characters on separate layers
- Add watercolor texture behind the character (very lightly)
- Export as PNG or JPG at high quality
Option C: Photopea (free "Photoshop in your browser")
Great if you want quick layer control without paying for software. You can drag PNGs in, resize, add text, and export print-ready files.
Tiny rule: keep the background simple. The character is the story.
Step 5: Print, frame, and hang without stress
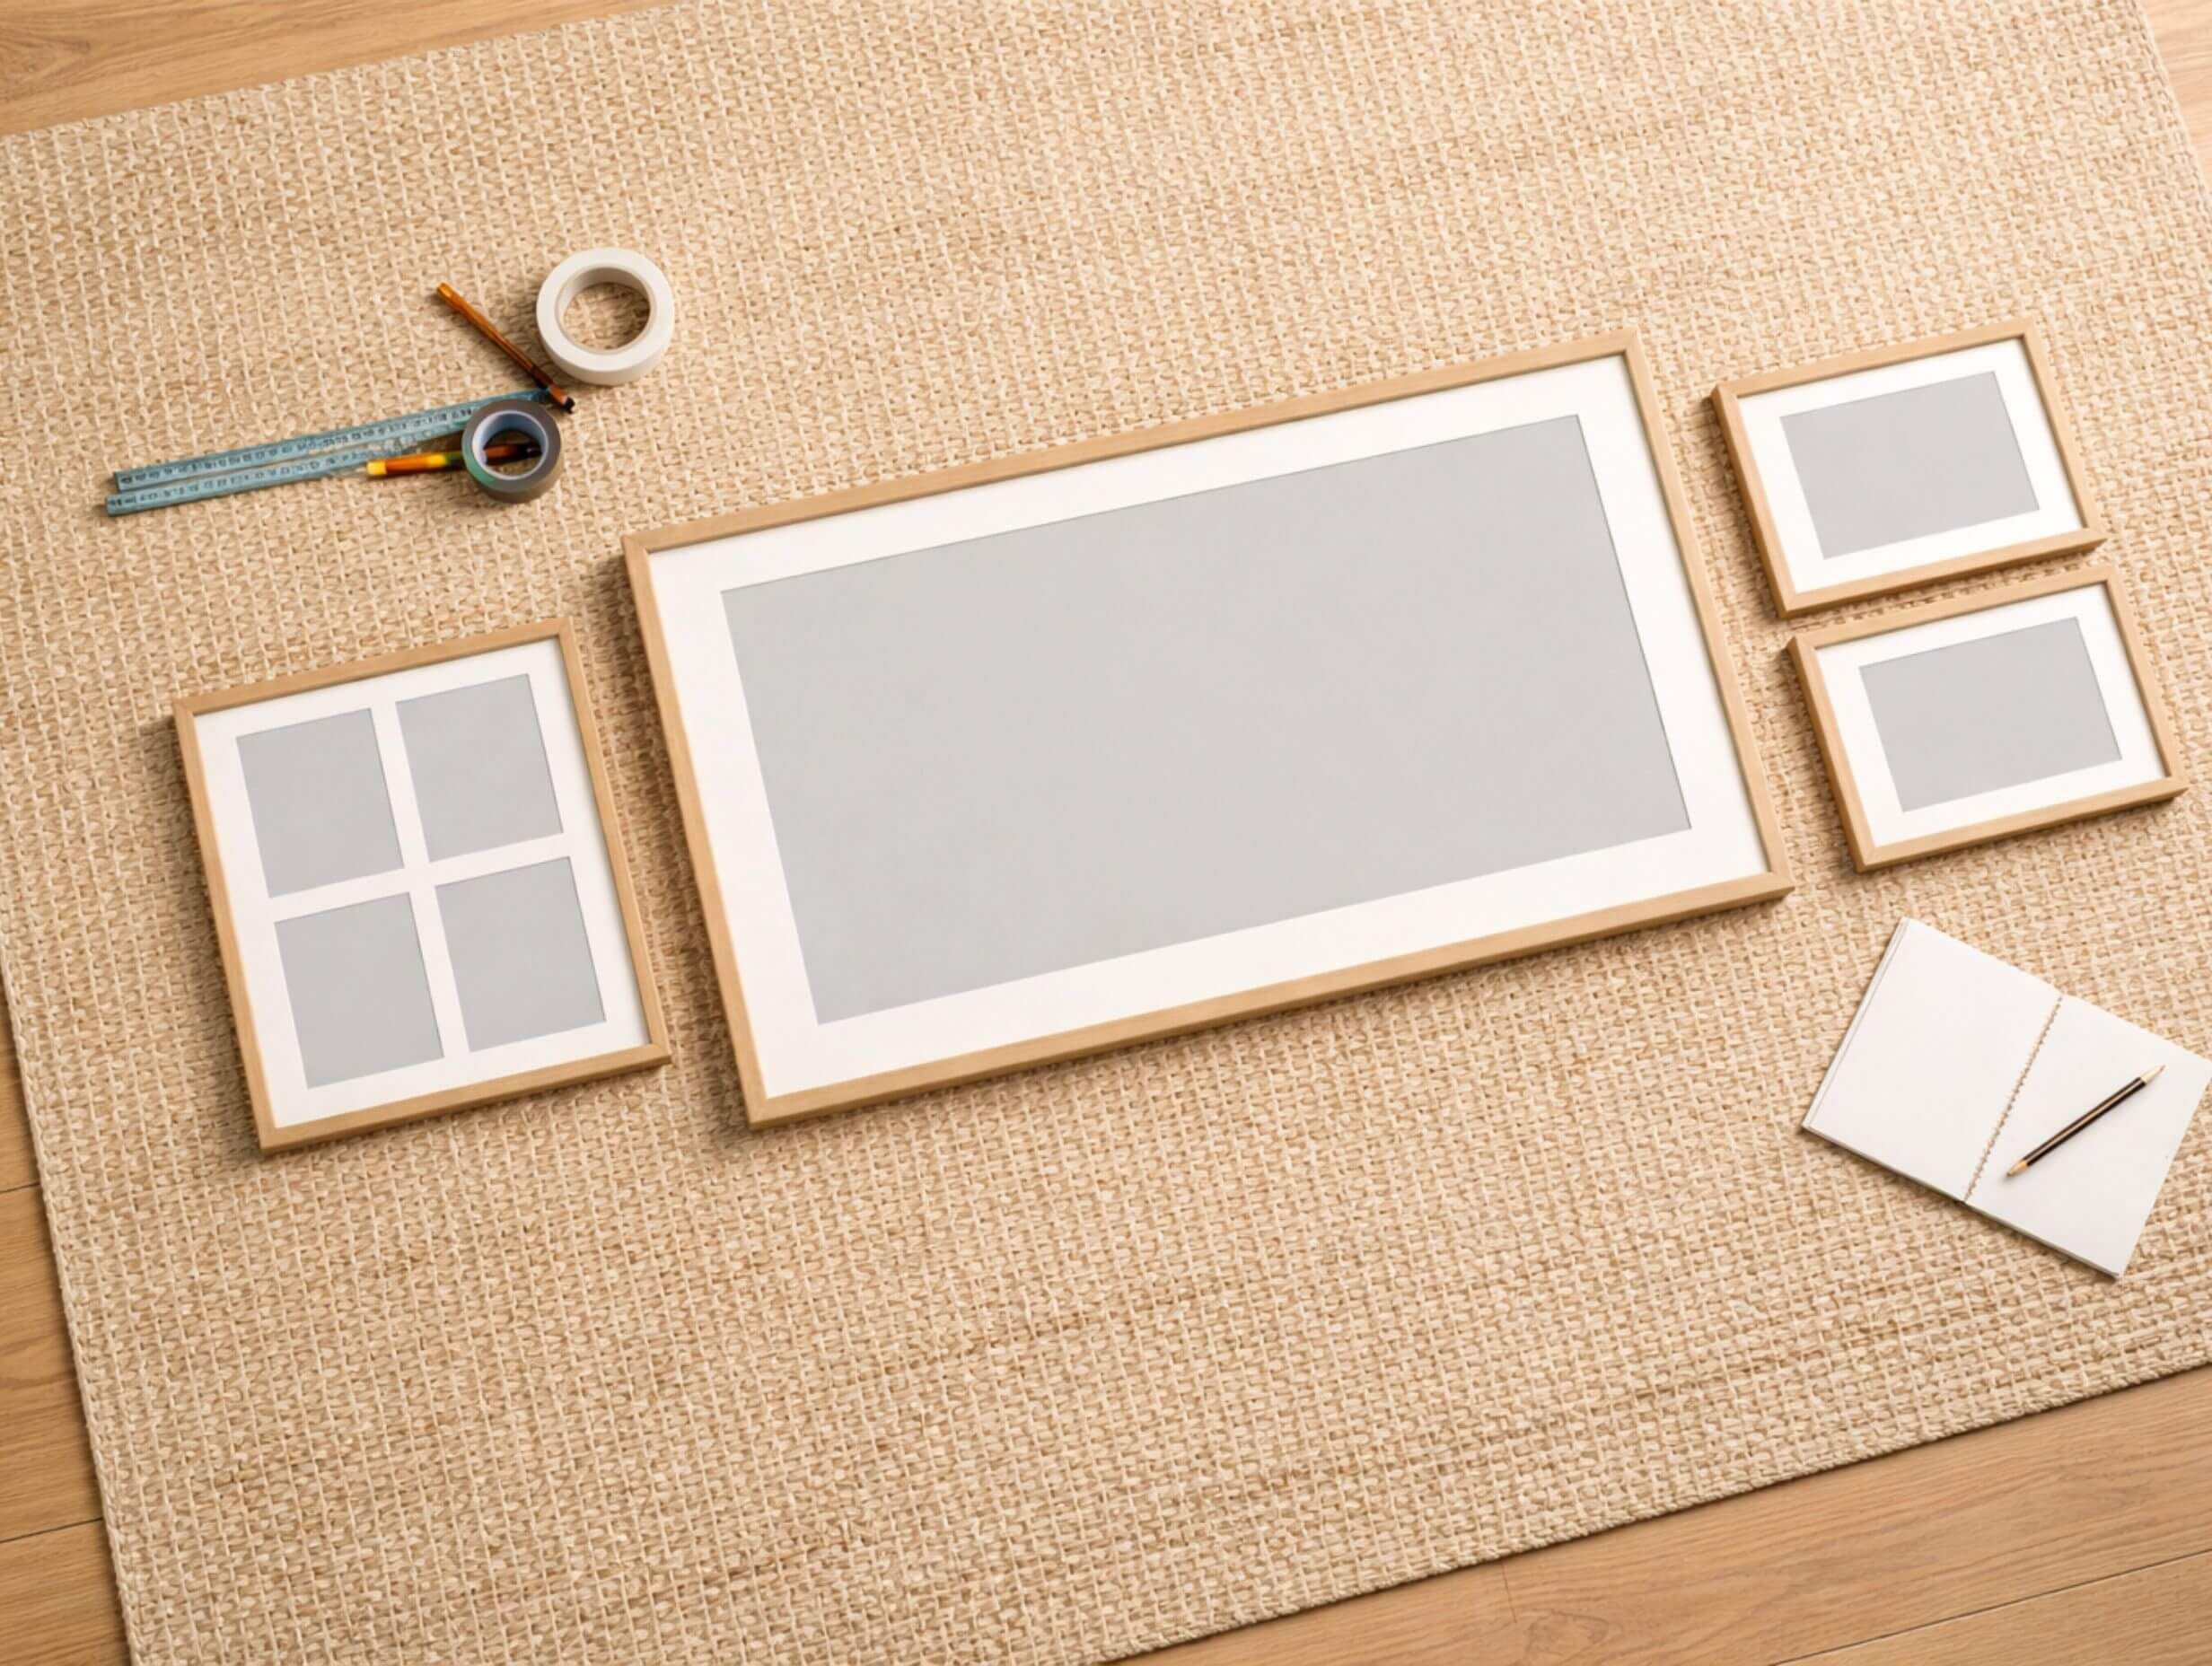
A few practical tips from my own trial and error:
- choose matte paper instead of glossy for watercolor art; it keeps the soft, painterly look
- if your home printer struggles with color, send the files to a local print shop or an online printer; high quality JPEGs or PNGs at 300 DPI are perfect
My printing cheat sheet (so watercolor stays soft)
- Paper: matte is best (it keeps the painterly look)
- Frames: white, light oak, or warm wood
- Spacing: 2-5 cm between frames usually feels calm
Where to print (US / EU / Worldwide)
If you want watercolor to stay soft (not overly saturated), choose matte or fine art paper whenever you can.
US (great for nursery wall art + fine art prints):
- Mpix (Giclée Prints): premium paper options and fast turnaround.
- Nations Photo Lab (Giclée Prints): fine art papers like Bright Matte (Moab Entrada) and more.
- Artifact Uprising (Giclée Printing): museum-quality giclée prints on archival paper.
EU (high-quality printing that keeps art looking “gallery-soft”):
- WhiteWall (Fine Art Prints): fine art papers + very polished results.
- Saal Digital (Poster / FineArt): a Hahnemühle Certified Studio for digital FineArt printing.
- CEWE (Premium Posters): great if you want something clean and simple (and easy to order).
Worldwide (best if you're outside the US/EU or want local production):
- Gelato: prints close to you using a global network (production partners in multiple countries).
- Prodigi (Art Prints): fine art print options across a global print network; ships broadly worldwide.
- Hahnemühle Certified Studio directory: if you want a trusted local fine art printer near you.
Tiny printing tip: before you hang anything, lay your frames on the floor and take a photo. It helps you spot spacing issues instantly.
Remember, this is for your family, not a museum. It does not need to be perfectly measured to feel beautiful.
Two easy ways to finish this wall
Option 1: Create your own characters with Midjourney
If you want the wall to feel like your storybook world, start with Part 1 and generate a small cast (3-6 characters) in the same style.
If you want a faster, repeatable workflow, my Midjourney prompt guides are in our creator shop: beacons.ai/bytesofus .
Option 2: Use ready-to-print characters (if you're short on time)
I designed my Watercolor Storybook Characters as high-res PNG + JPG files that work beautifully for nursery wall art, name prints, and milestone cards.
If you already have a character set you love, that works too. The wall steps below stay the same.
Want to create your own characters (not just print them)?
If you'd like to generate storybook-style characters with Midjourney, I wrote a gentle step-by-step creator guide here: Whimsical Hand-Drawn Characters With AI .
Let your nursery wall tell a quiet little story
In the end, a gallery wall is not just decoration. When you sit in the rocking chair at 3 AM, or when your toddler starts pointing at the animals and naming them, that wall becomes part of your everyday memories.
Whether you use my Watercolor Storybook Characters or another set of watercolor woodland animals, I hope this gives you a simple, gentle way to turn an empty wall into a tiny story your child can grow up with.
With love,
Mădălina from BytesOfUs 💖
Join the Cozy Creator Mail (freebies inside)
Get mini prompt drops, behind-the-scenes process notes, creator freebies, and early access to new clipart + guides.Cozy, useful, and never spammy.
Related stories
 Creators
Whimsical Hand-Drawn Characters: How I Create Them with AI
Learn how I design whimsical characters with Midjourney and turn them into storybooks, wall art, and products.
 Creators
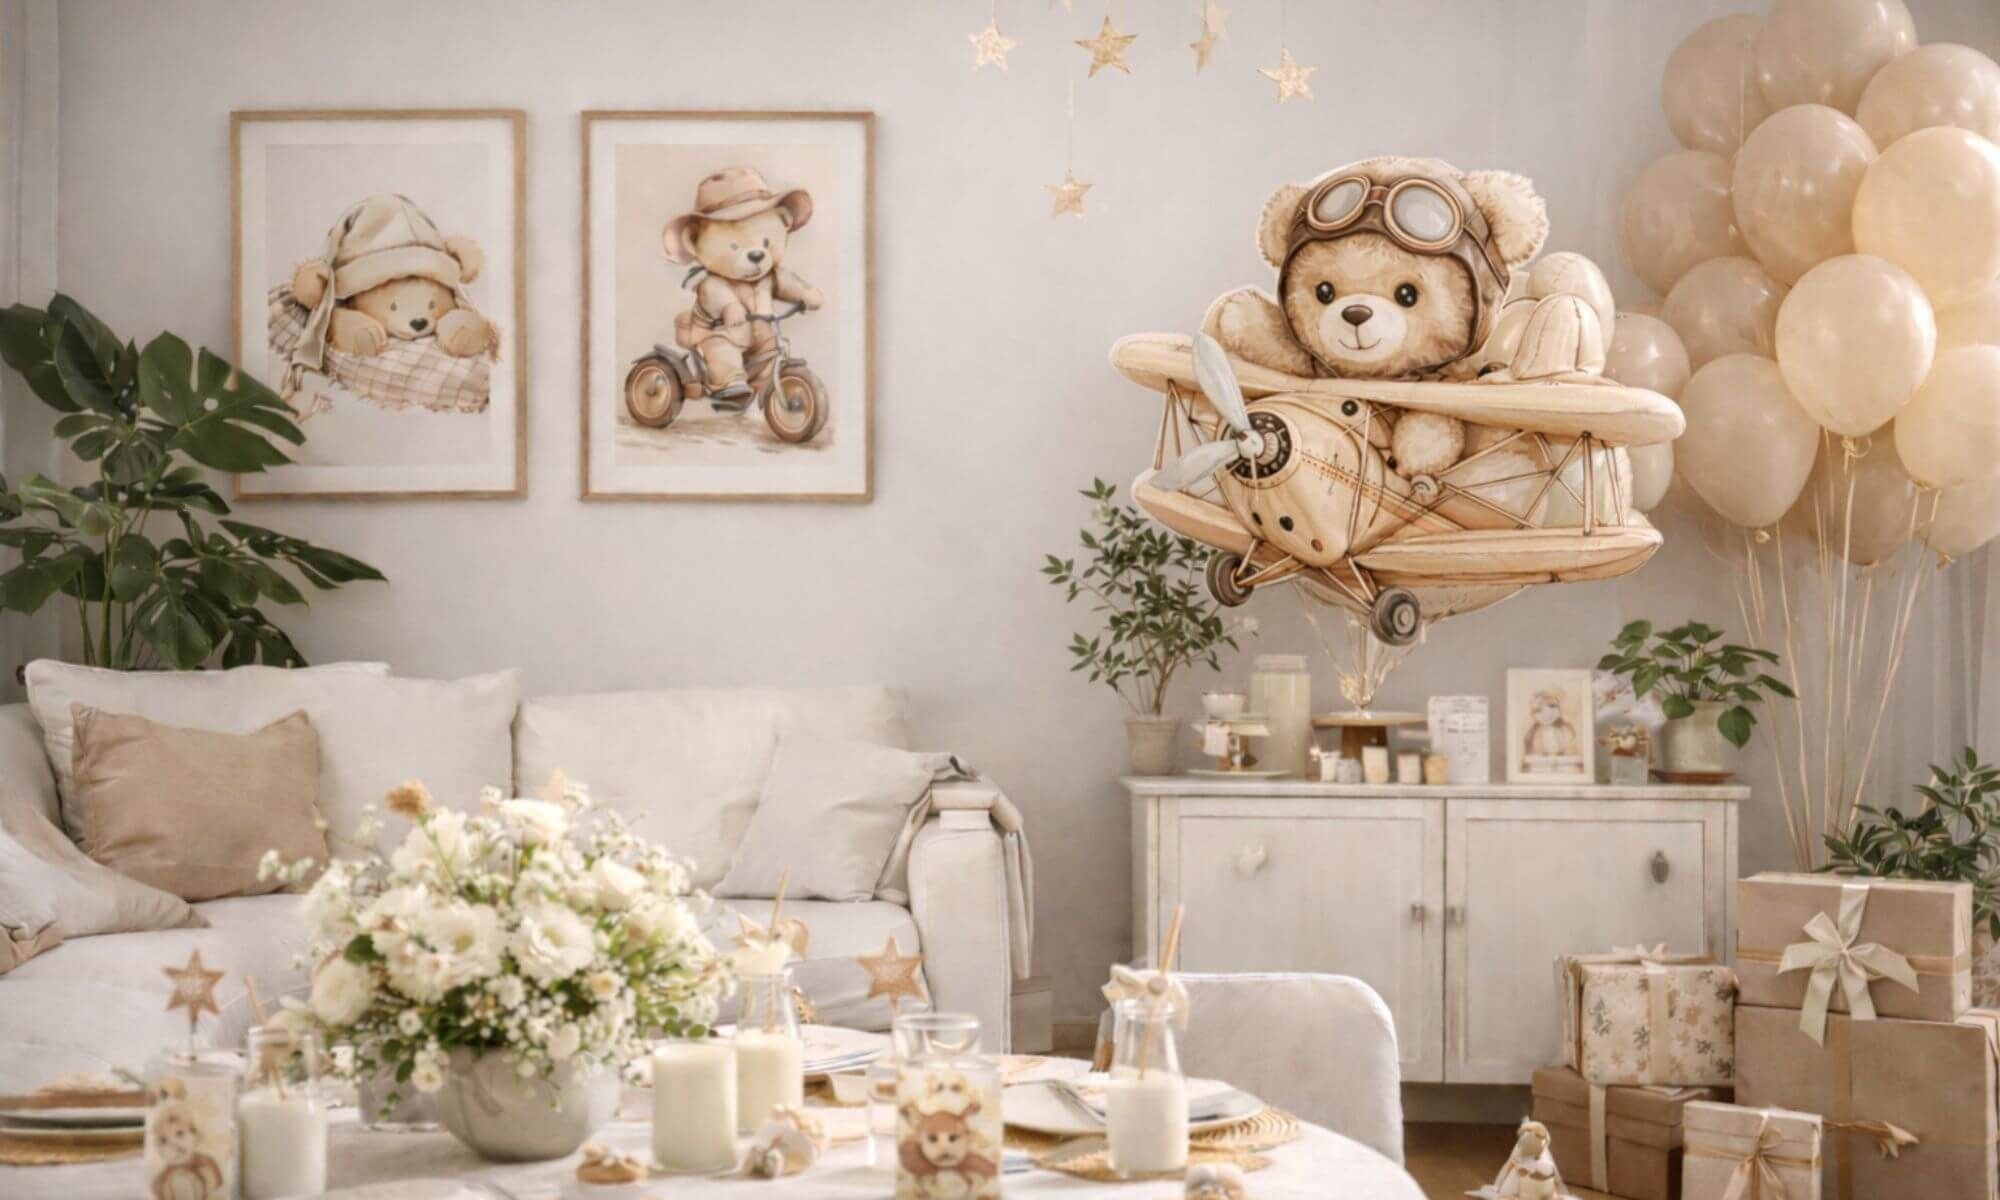
DIY Teddy Bear Baby Shower Decorations With Midjourney
Use Midjourney teddy bear prompts to design neutral, blue, and pink baby shower decor you can reuse.
 Creators
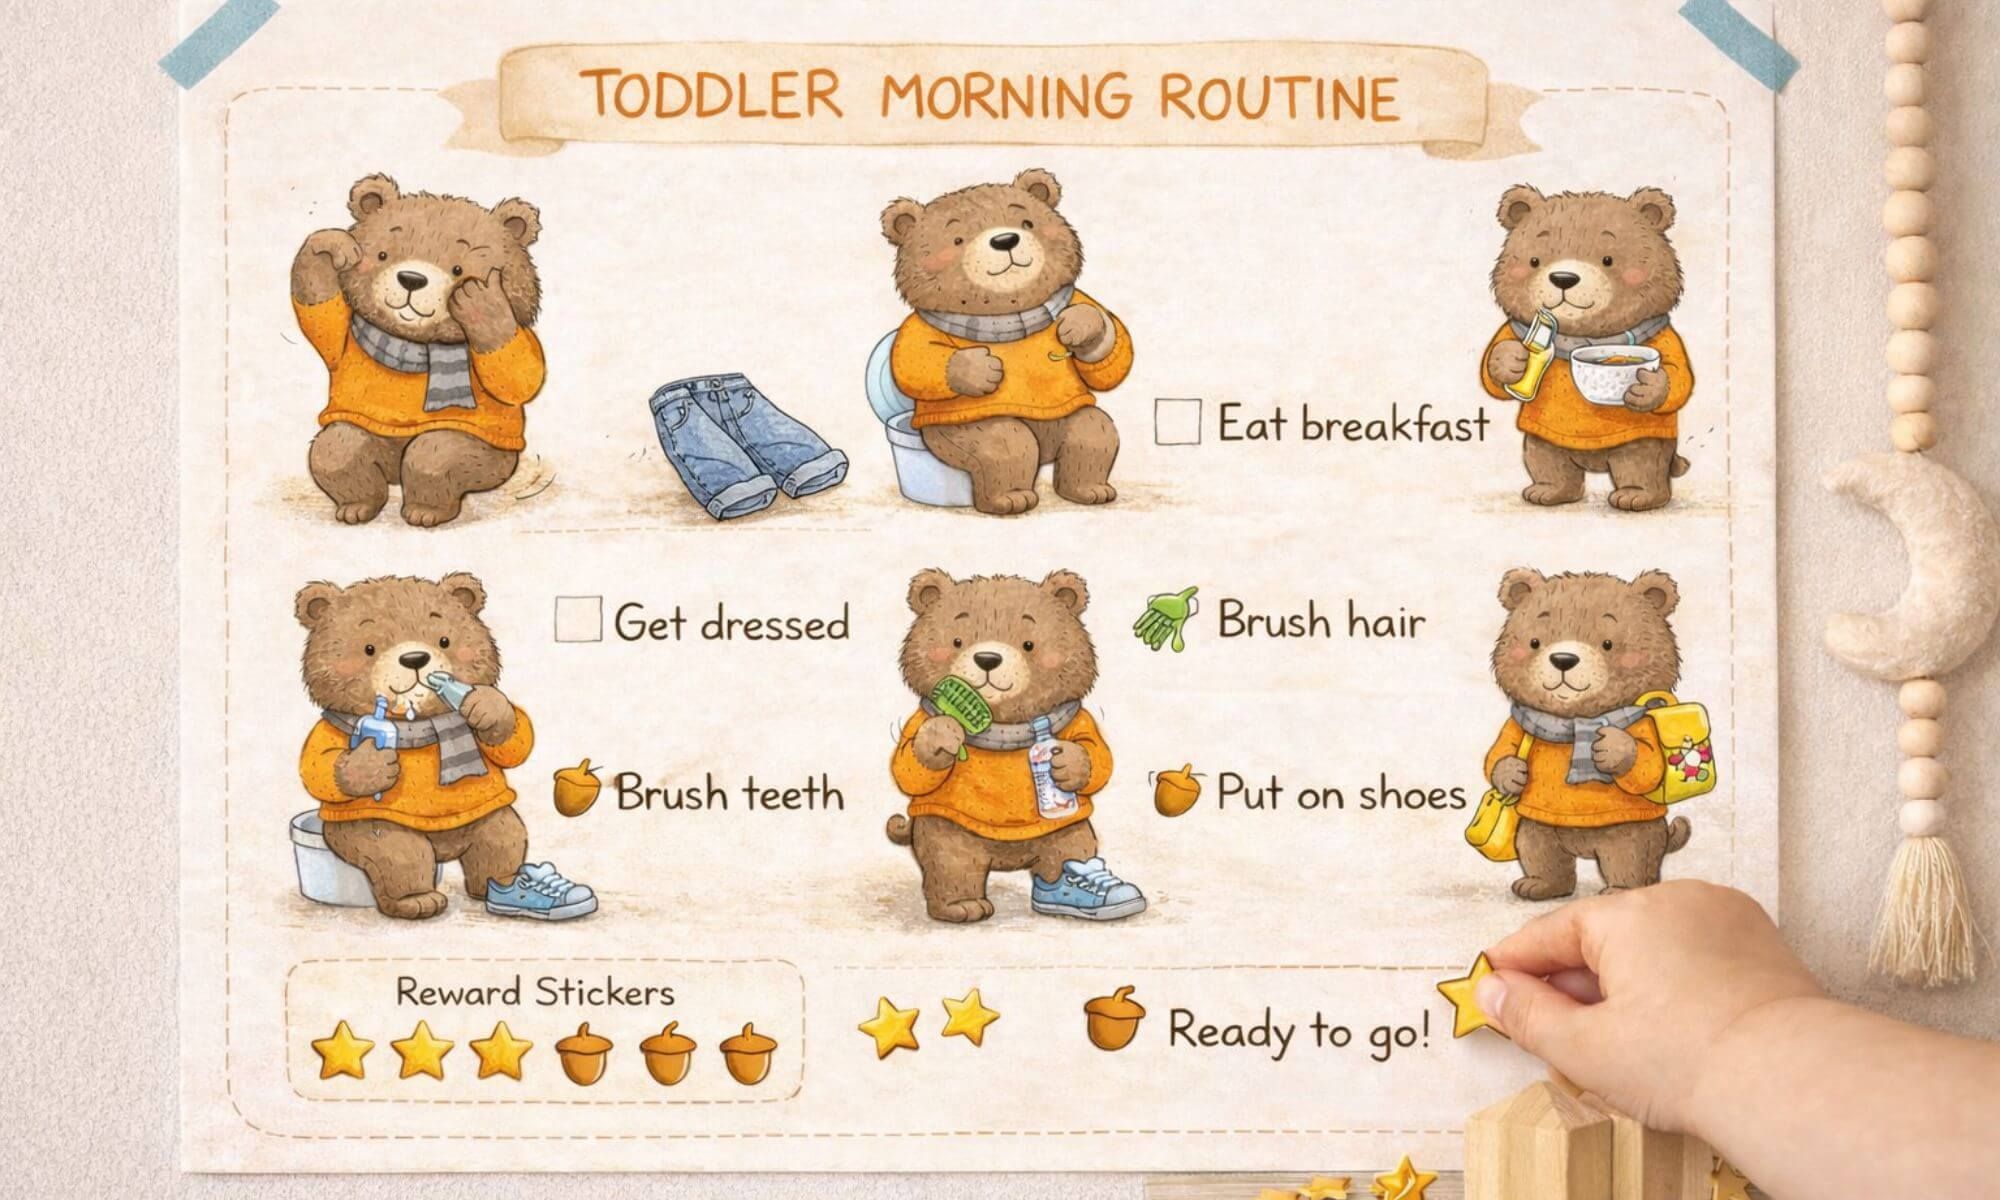
How I Used Cute Hand Drawn Animal Illustrations To Make A Toddler Routine Chart That Actually Works
Create a calm toddler morning routine with cute hand-drawn animal illustrations and the exact prompt recipe I use in...