Whimsical Hand-Drawn Characters: How I Create Them with AI (And How You Can Too)
Soft, slightly vintage illustrations that feel like the cozy stories I make for my son.
Hey, I'm Mădălina, the mom behind Bytes of Us. Here's your tiny byte of inspiration for today. 💖
Maybe you found me through a Pinterest pin, maybe you bought one of my clipart characters on Etsy, Creative Fabrica or maybe Google dropped you here while you were searching for "storybook illustrations that don't look like plastic toys."
Either way: welcome!
In this post I'll show you how I create my whimsical hand-drawn characters with Midjourney, how I turned them into a storybook for my little one, and how you can start making your own characters too.
How a bedtime story turned into a whole little world
This whole collection started very simply: I wanted a bedtime story that felt like us.
Not a generic princess book, not a loud cartoon. I wanted soft, slightly vintage illustrations - witches with messy hair and warm scarves, kids with round glasses and rosy cheeks, small animals with too-big sweaters.
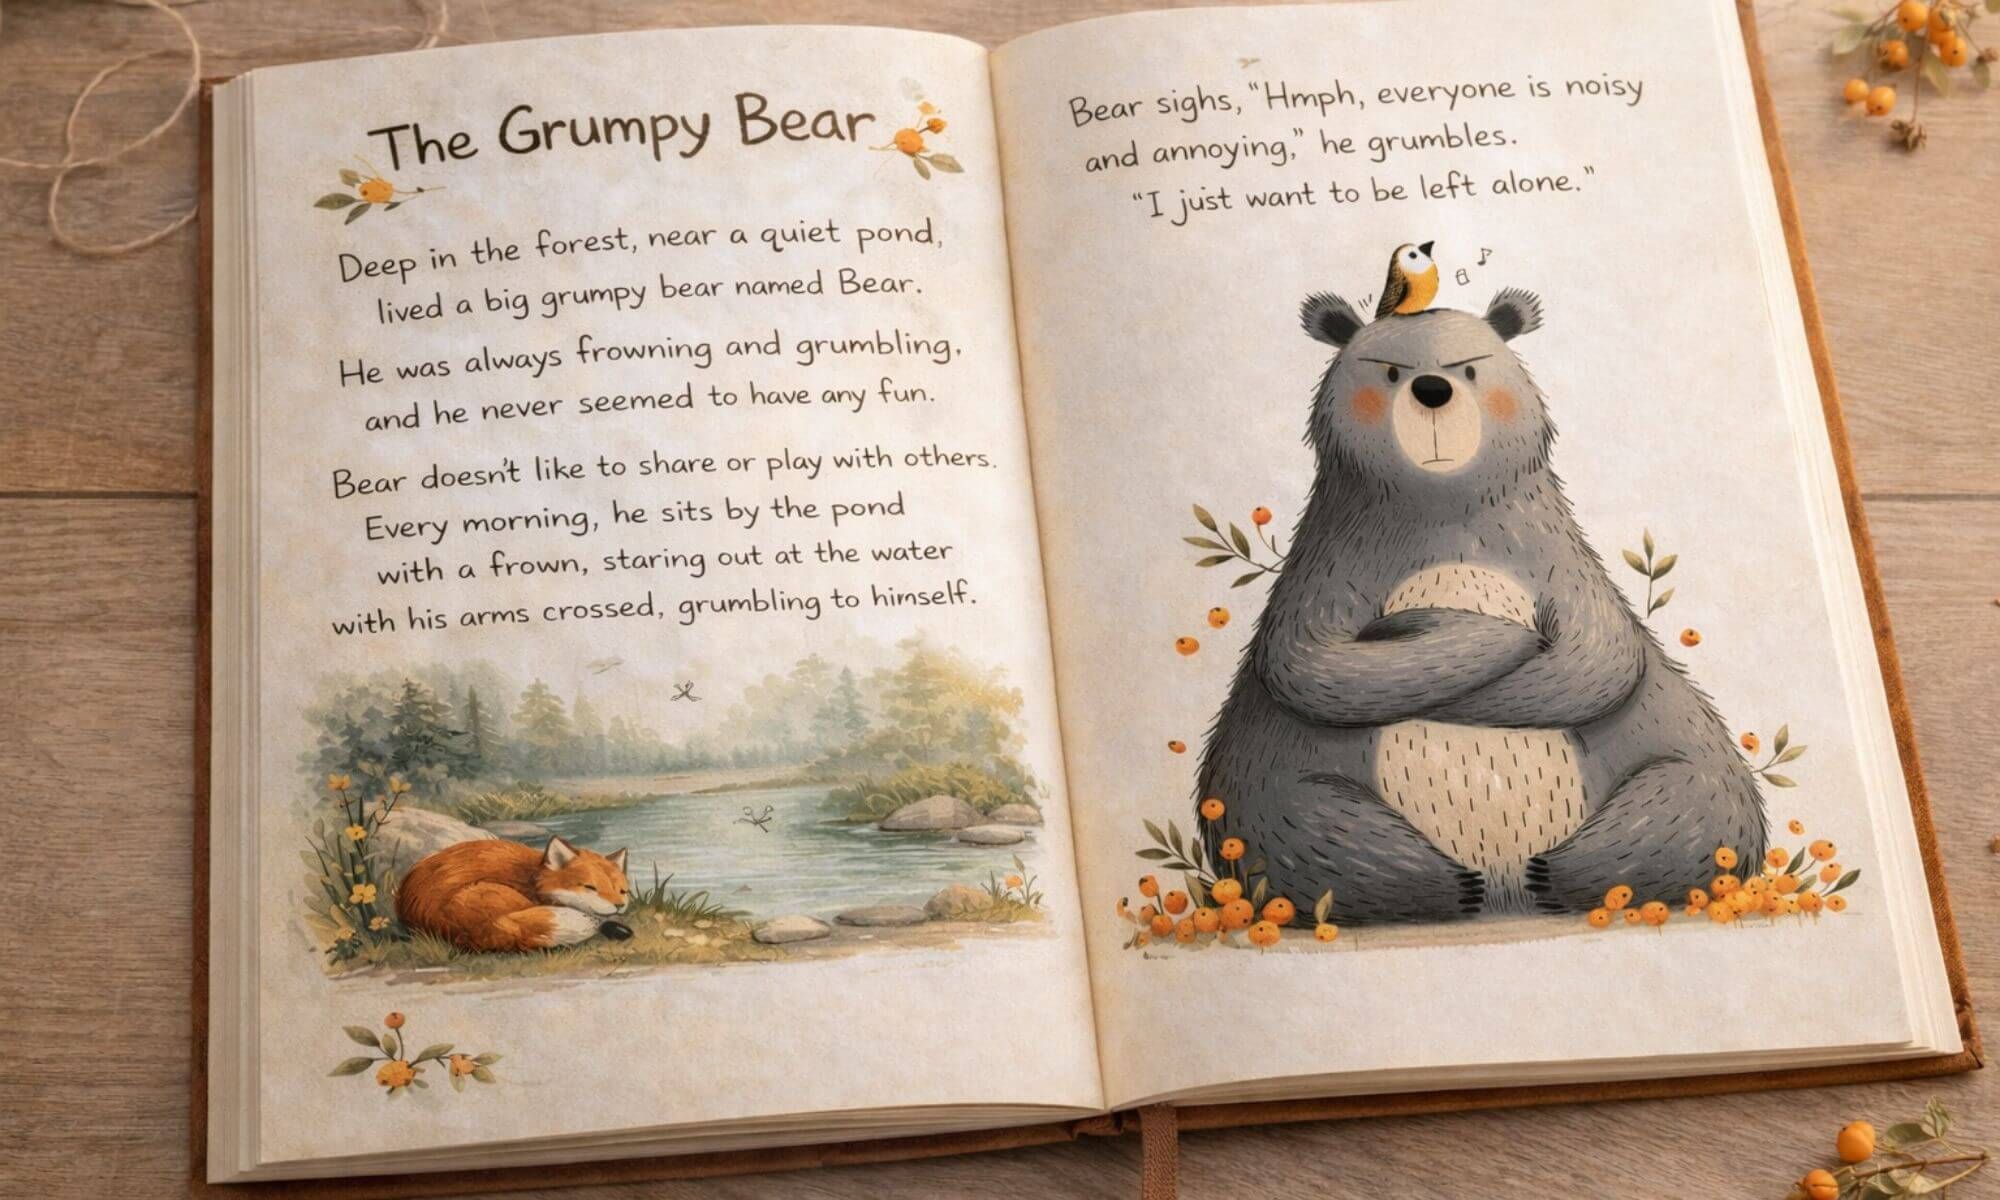
So I started creating my own characters and printed them into a little storybook for my son.
Each page had:
- one cozy illustration
- one tiny sentence about who that character was,
- and a small thing he could spot or count (leaves, stars, berries...).
He loved it.
And honestly, I loved it too. It felt like I had bottled our little family's mood into pictures.
That's the energy I try to keep in every whimsical hand-drawn character I create now - whether it becomes wall art, clipart for your projects, or part of your own stories.
What “whimsical hand-drawn characters” means here
When I say whimsical, I don't mean chaotic. I mean:
- faces that tell a little story without words
- oversized clothes that feel safe and cozy
- soft brush strokes and warm, muted colours
- simple backgrounds with a few branches, leaves or flowers
- a bit of magic, but still grounded and calm
The Cozy Style Checklist (use this to self-correct fast)
If your results drift, come back to this:
- Soft linework (hand-drawn feel, not vector-clean)
- Warm muted colours (paper + watercolor energy, not neon)
- Simple background (cream/off-white keeps it storybook)
- One character + one tiny story detail (leaf, book, berry, scarf…)
- Gentle texture (brush strokes / paper grain)
Tiny rule: when in doubt, simplify. The charm lives in the quiet details.
Think of:
- a shy young witch in a big black hat and beige scarf
- a serene woman hugging a swan against an olive sweater
- a dreamy girl with round glasses and chestnut hair, lost in thought
All of those were born from the same process.
The tools I actually use
For this collection I use:
- Midjourney - the AI that helps me generate the illustrations
- Midjourney's web interface - where I usually work now
- Optional: Discord - you can still use Midjourney via Discord, but for most beginners the website is friendlier
- Optional: Canva / Procreate / Photopea - for tiny tweaks, resizing, upscaling, or adding text
- Optional: For background remover I use: Free AI Background Remover (becasue it's free)
If you're totally new to this:
You create an account on Midjourney's official website (just search for “Midjourney” in your browser), choose a plan that fits you, and you'll be able to type in prompts and get images back.
The "secret sauce" isn't a complicated program. It's simply the prompt and how you describe your character.
My 3-step process for every character
Tiny recipe (the whole method in one breath): Story → visual details → one flowing prompt → reroll/variations → tiny cleanup → save your favorites.
If you can describe a character to a friend, you can do this.
I keep the process as simple as possible:
1. Start with a tiny story, not with settings
Before I touch any sliders, I ask:
- Who is this?
- How do they feel?
- Where could I put them on a page in my child's storybook?
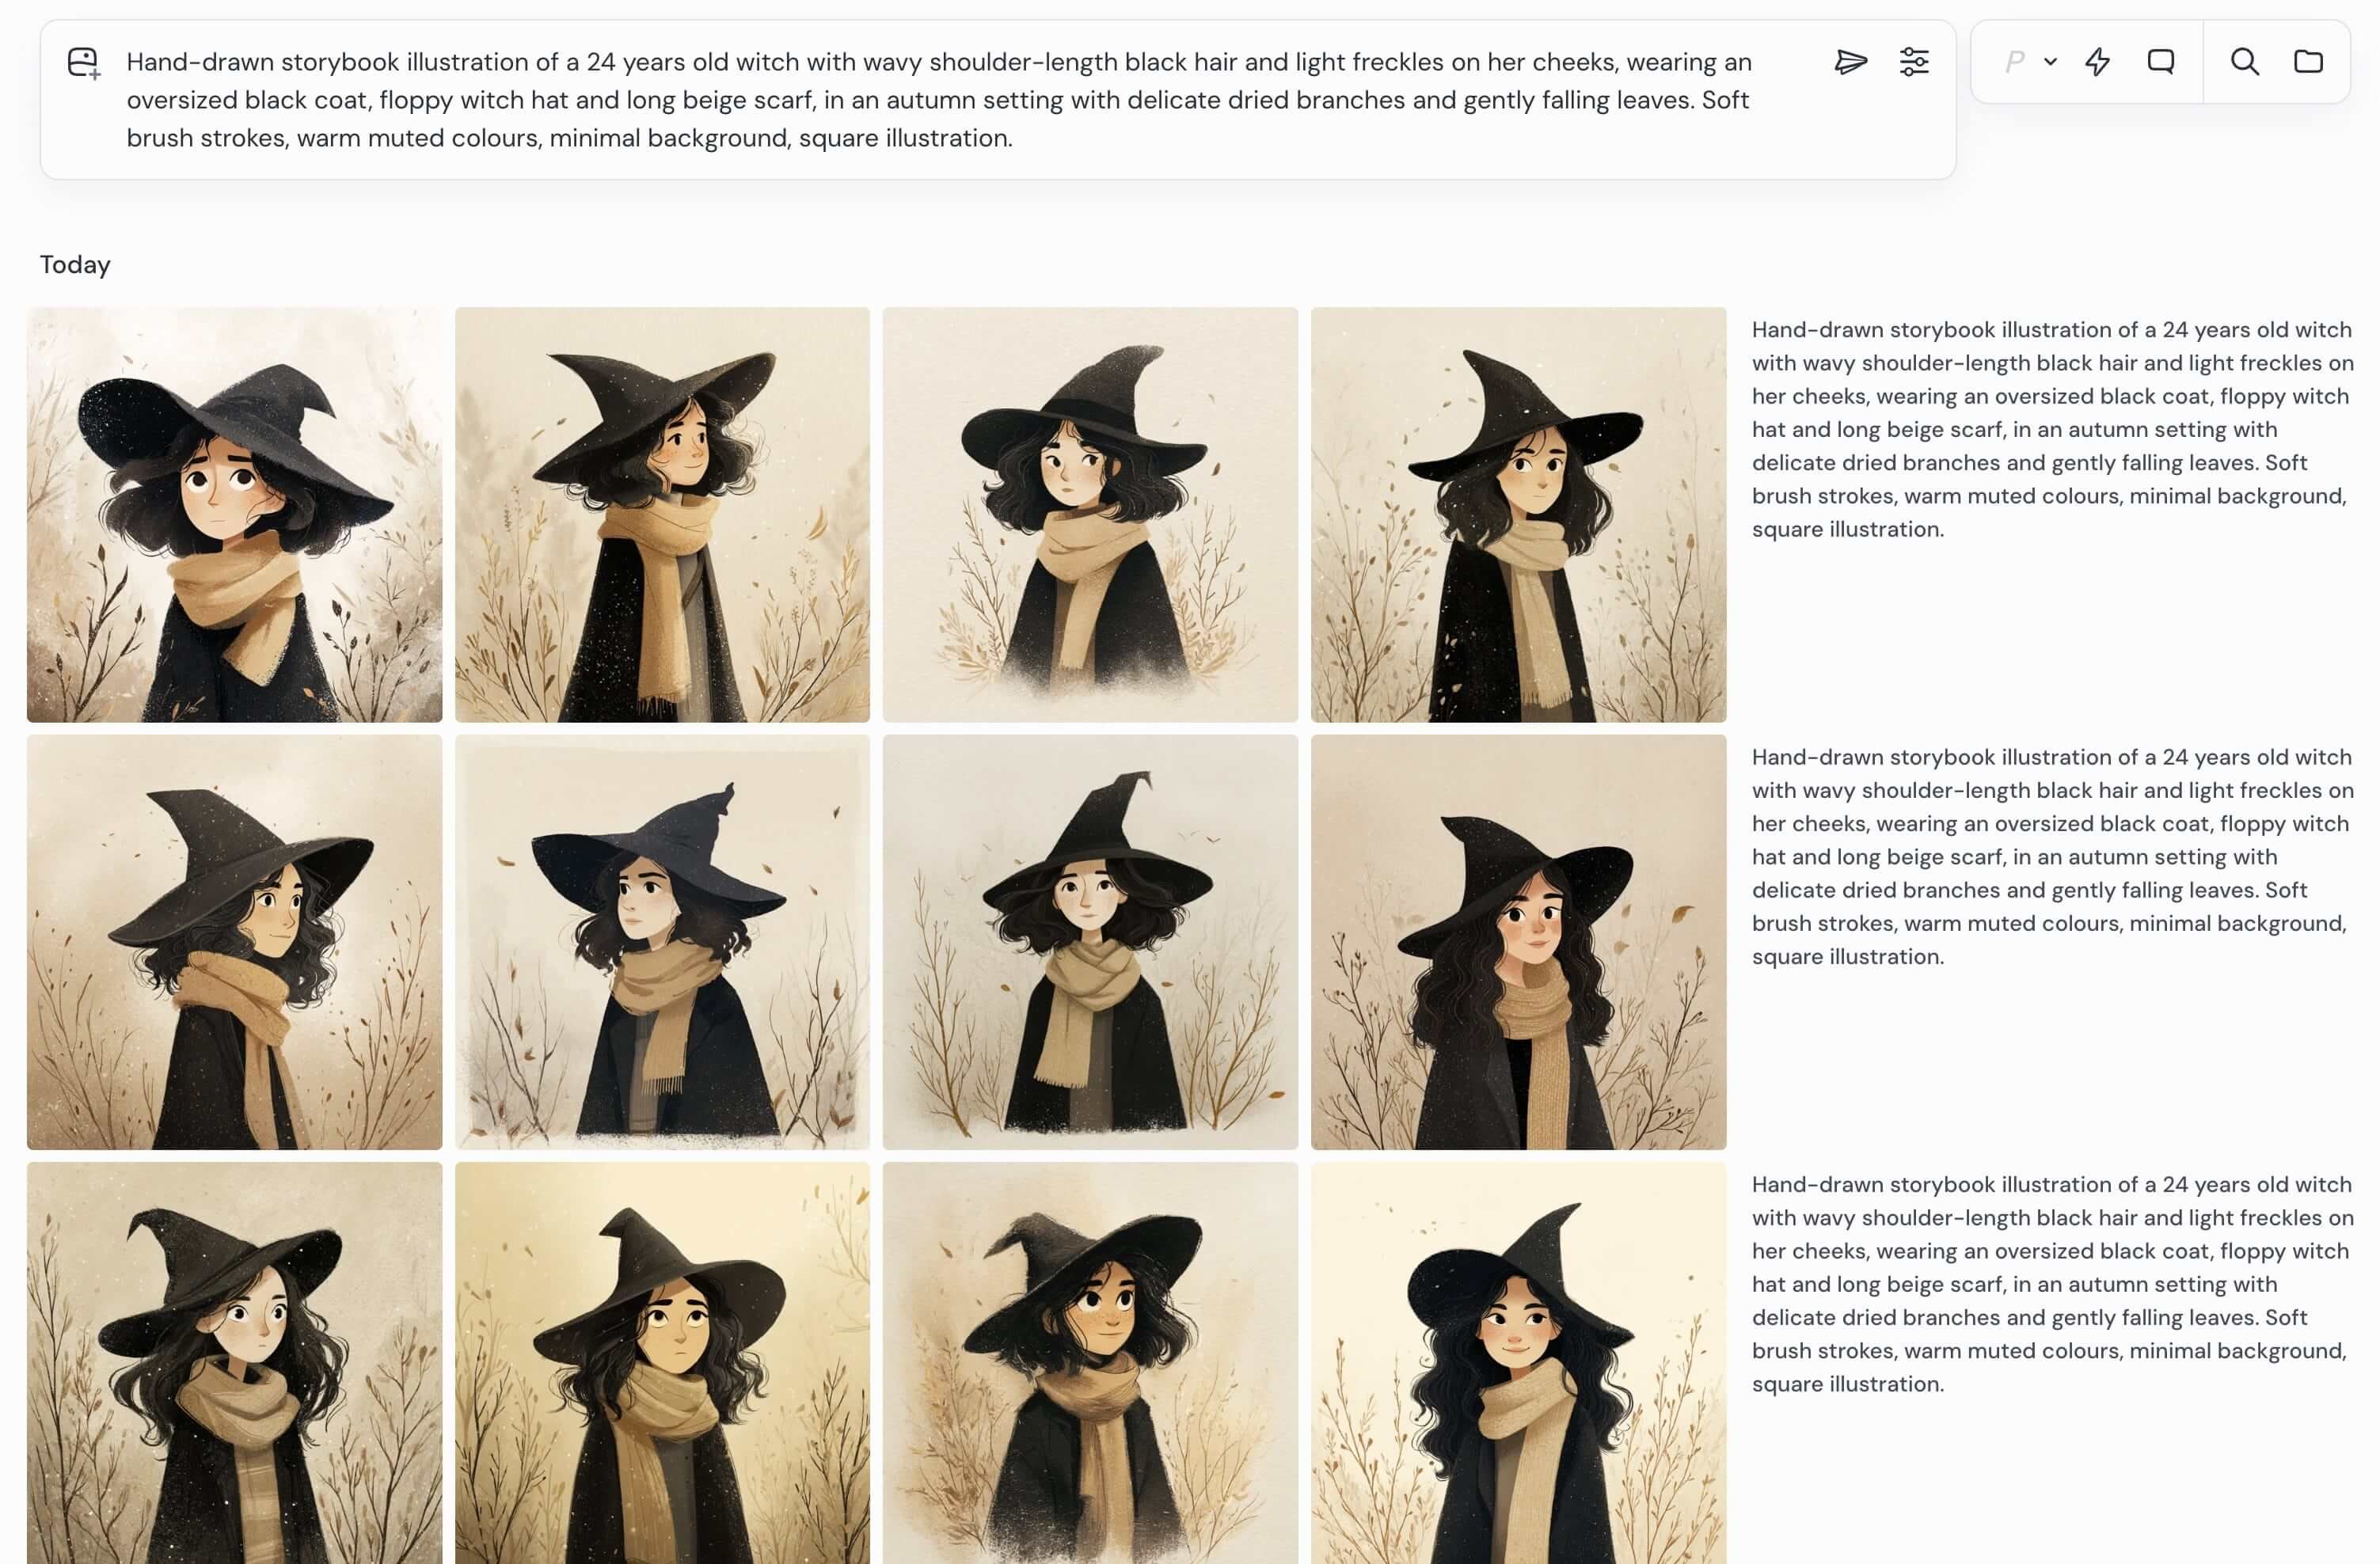
Example: “A shy young witch walking home through autumn fields. It's cold, but she is wrapped in a big scarf and feels safe.”
That's it. One or two sentences in human language.
2. Translate that into visual details
From that mini story I pull out visuals:
- Character: young witch
- Mood: shy, calm, cozy
- Pose: standing, looking slightly to the side
- Outfit: oversized coat, big scarf, floppy black hat
- Colours: warm browns, soft blacks, beige scarf
- Background: minimal, a few branches and leaves, light cream backdrop
I then describe all of that in one flowing sentence for Midjourney, keeping the tone like “storybook illustration” and “soft brush strokes”.
3. Refine, reroll, and save favourites
Midjourney gives me four options every time. Here's what I usually do:
- Save anything that feels like it has a little soul
- Reroll if the face is strange or the energy feels off
- Ask for variations on the one I love most
Then I sometimes take a favourite into Canva or Procreate to:
- brighten the background
- clean tiny artefacts
- adjust the composition for print (for example square 1:1 or vertical 4:5 for wall art)
Two quick Midjourney notes (so your art fits real life):
- For clipart and bundles, start with square (1:1).
- For Pinterest and wall art, try 4:5.
Don't overthink the rest. Your prompt ingredients do most of the work.
That's really it. No crazy secret, just a patient loop: story → description → refinement.
Your first whimsical character: a simple recipe
Let's do a light version together that doesn't spoil any of my paid prompt work, but gets you playing.
You can open Midjourney's website in another tab and follow along.
Step 1 - Choose an archetype
Pick one:
- gentle witch
- sleepy fox in a sweater
- shy bookworm girl
- curious boy with a camera
- patient bear in overalls
Step 2 - Choose one mood + one season
Examples:
- dreamy + autumn
- playful + spring
- calm + winter
This will guide colours and atmosphere.
Step 3 - Add outfit + tiny “quirk”
Outfit:
- oversized turtleneck
- long coat
- simple dress
- scarf + hat
Quirk:
- round glasses
- freckles
- messy bun
- very long ears
- tiny hat
Step 4 - Add 1-2 natural elements
Don't overload. Pick just a couple:
- swirling leaves and thin branches
- wildflowers and grasses
- snowflakes and bare trees
Step 5 - Put it into a prompt
In Midjourney's prompt box, describe your character in one sentence like you're explaining it to a friend:
“Hand-drawn storybook illustration of a [age] [character] with [hair style / colour] and [quirk], wearing [outfit], in a [season] setting with [natural elements]. Soft brush strokes, warm muted colours, minimal background, square illustration.”
Troubleshooting (tiny fixes that save you 30 rerolls)
If it looks shiny / 3D / "plastic":
- Add "hand-drawn, illustrated, soft brush strokes, paper texture"
- Remove words that hint at realism (cinematic, ultra-detailed, photoreal, 3D)
If the background gets busy:
- Ask for a "simple cream background / minimal background"
- Keep only one environment hint (meadow or forest, not both)
If the face feels off:
- Use "gentle expression, storybook character, childlike proportions"
- Keep descriptors soft (small smile, rosy cheeks) and avoid heavy realism
If hands get weird (classic):
- Choose a simpler action (holding a flower or book, waving)
- Or crop so hands are not the focal point
If the style changes every run:
- Keep the same core anchors (art feel + background + outfit)
- Only swap one ingredient per variation (prop or season or action)
How to make a whole set that looks like one world
The secret isn't one perfect prompt. It's repeatable structure.
I keep one base idea and only rotate tiny ingredients (character / season / prop / action). That's how you get “collection vibes” instead of random results.
In my paid guide, I've marked those swap-parts clearly so you can build a full set faster, without rewriting everything from scratch.
Two tiny settings that change everything (and keep you sane):
- Aspect ratio: Midjourney starts square by default, but you can change it with --ar. For clipart characters I usually start at 1:1. For Pinterest pins, try 2:3 or 4:5.
- Stylize: If your character starts drifting into “too artsy / too weird,” lower stylize. If it looks too literal, raise it a bit. (Default is 100, and you can push it higher when you want more “illustration magic.”)
Optional: if you want more variety fast, add a little chaos like --c 5 (higher chaos = wilder results).
You can play with the words, change ages, swap outfits, etc. Run it once, look at the result, and tweak.
If you're totally new, your first images won't be “perfect”. That's normal. I still reroll a lot too.
How I keep the same “person” consistent (so it becomes a collection)
The secret isn't perfection. It's locking one starting point and only changing one thing at a time.
What I do:
- I generate a character I like and then I reuse a seed so the “starting noise” stays similar (this helps you iterate more predictably).
- I keep the core outfit and face details the same (hat, scarf, glasses, freckles) and only swap the tiny story element (leaf, berry, book, flower).
- I try a few variations with small changes instead of rewriting the whole prompt.
Tiny reminder: consistency comes from repeating the same anchors, not from finding one perfect prompt on the first try.
Turning characters into something real (like my son's storybook)
Once you have a few characters you love, here are easy ways to use them:
- Print them as mini cards and invent stories together
- Make a simple storybook like I did: one character per page, one line of text about who they are, one small thing your child can search for (leaves, stars, birds…)
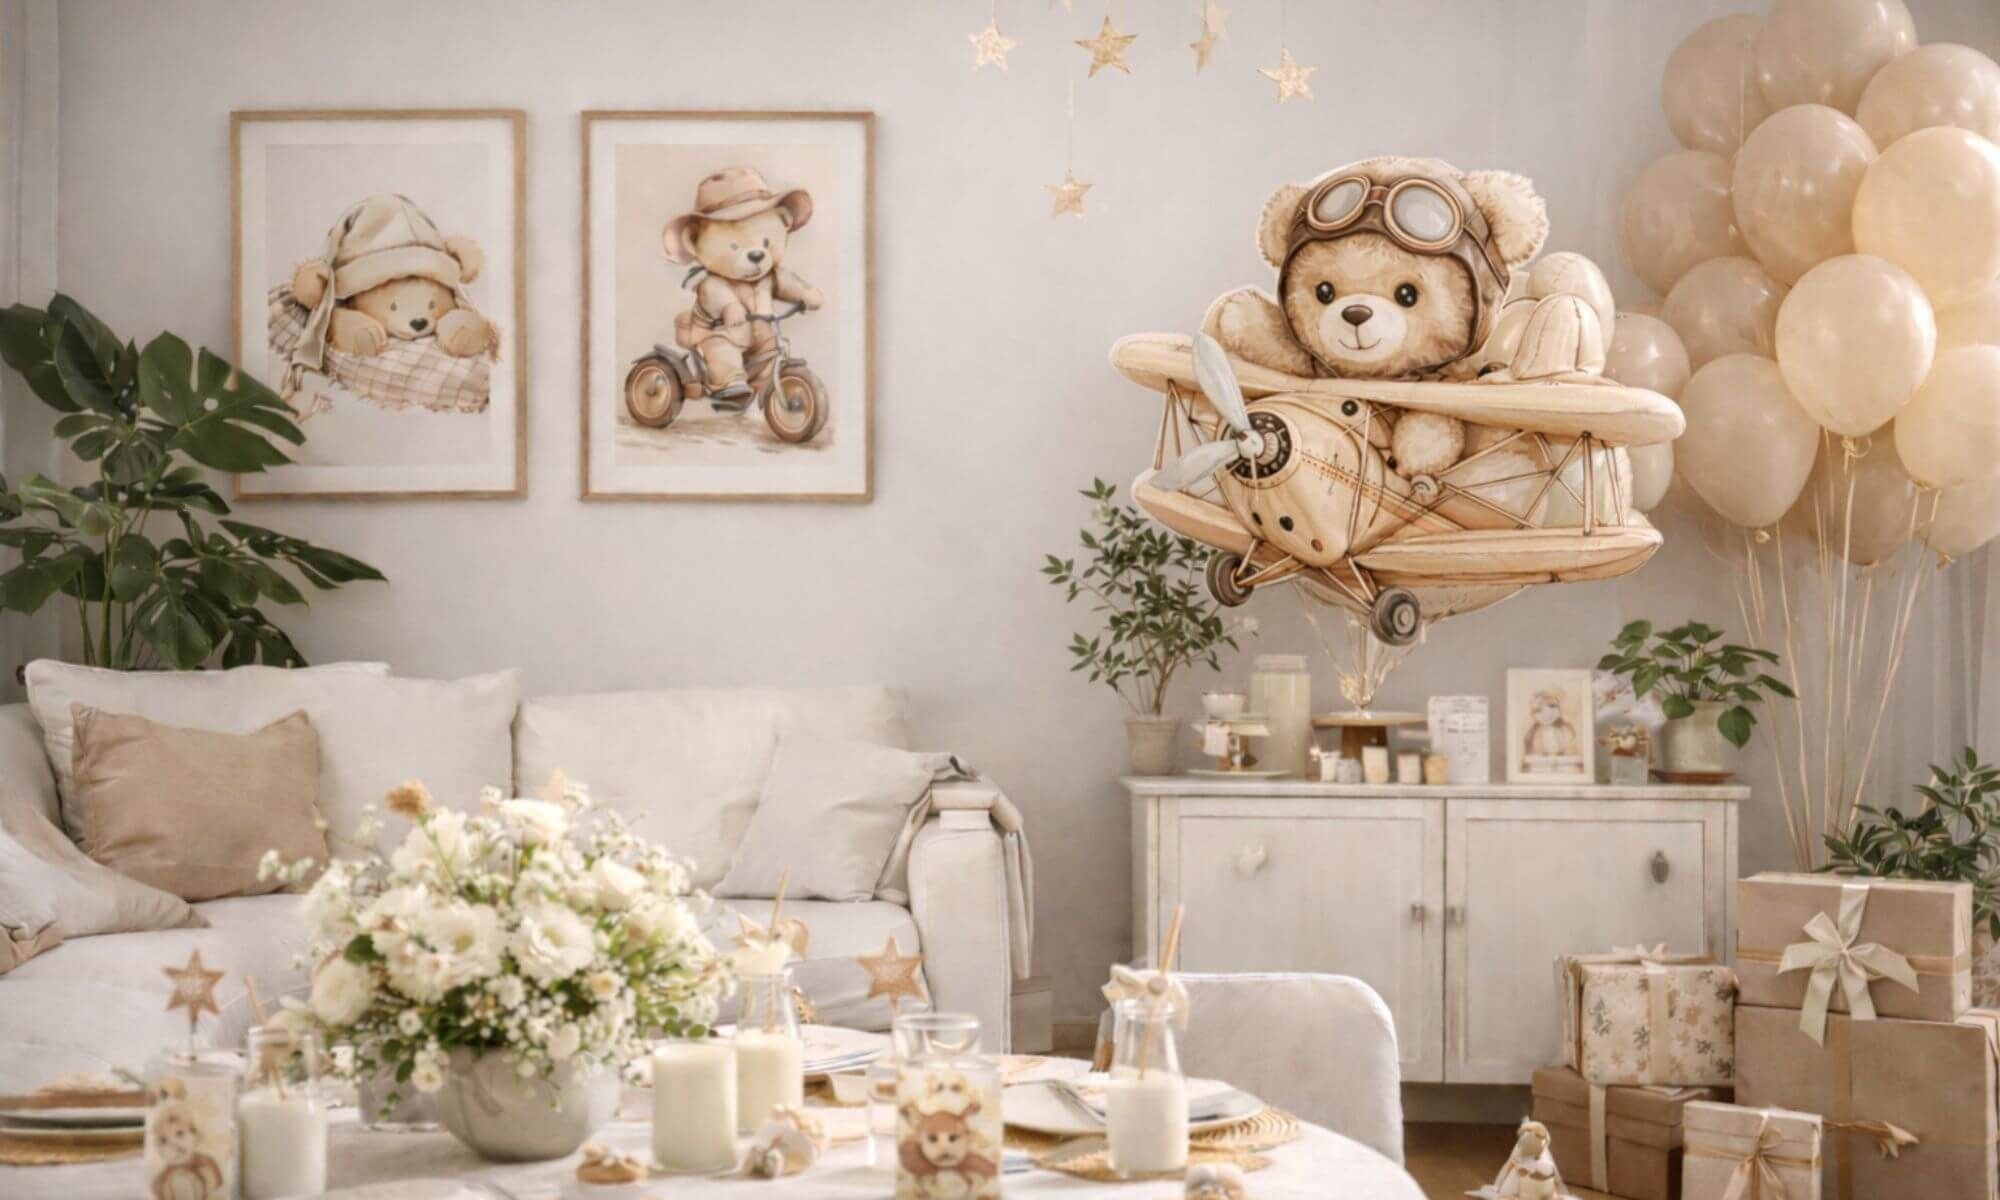
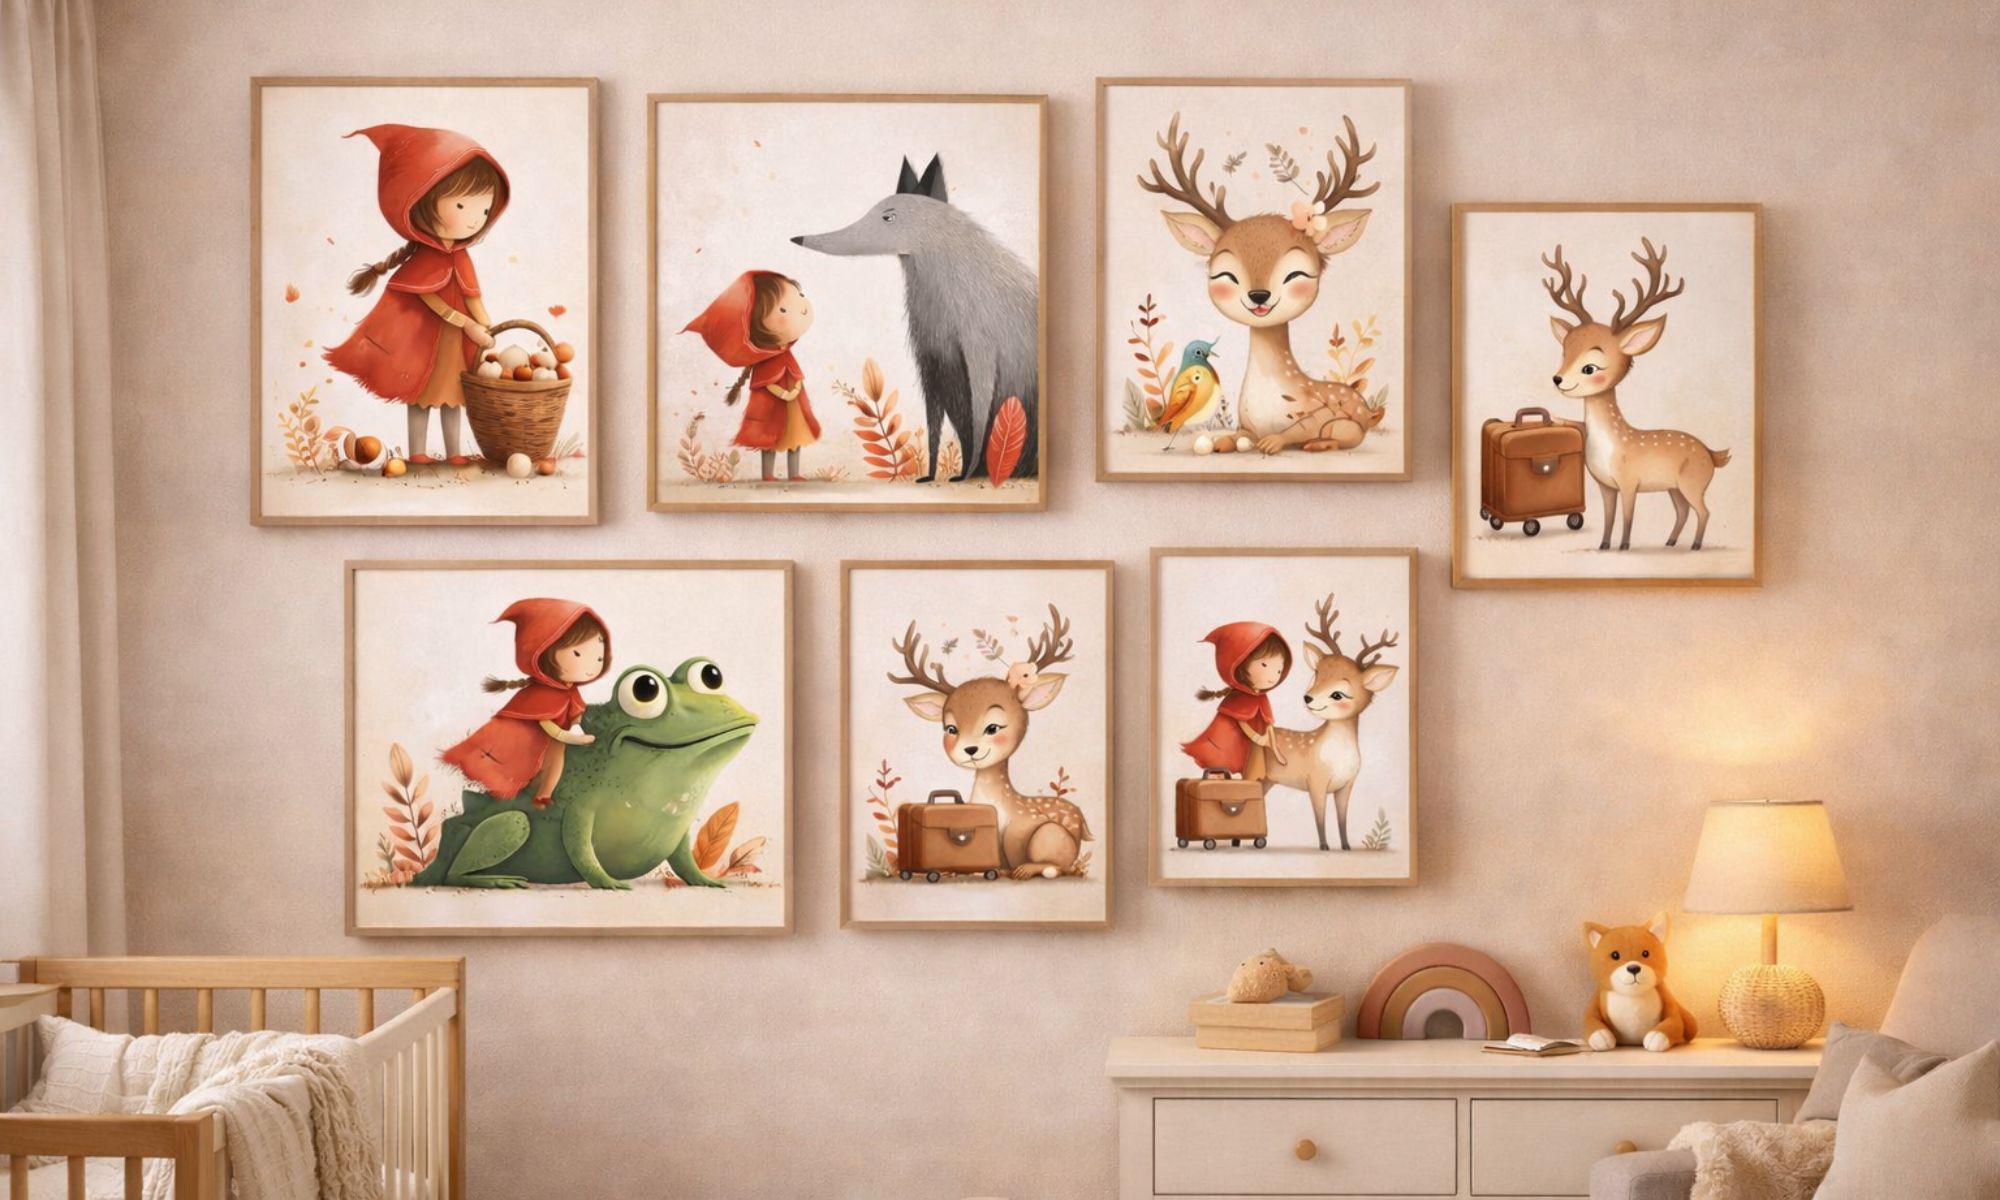
- Turn them into wall art for a reading corner
- Use them in your digital products (invitations, stickers, planners, classroom materials, always checking Midjourney's and your platform's terms)
Make it usable (my quick export routine)
- Save the cleanest version (simple backgrounds win)
- If you need PNGs, remove the background and export transparent PNG
- Name files like a tiny library: character_theme_pose_colorway_01
Future-you will thank you when you're building bundles.
Want to skip the trial-and-error?
If you want characters that look like the ones in this post right away, I made a small copy-paste prompt guide with my exact template + examples + the finished characters in HD (JPG + transparent PNG).
Grab it here: prompt guide .
The goal is not endless files on your hard drive. The goal is that one little human in your life gets something unique from you.
Want the exact prompt I use for this style?
If you'd like to skip the trial-and-error and generate characters that look like the ones in this post, I've put my exact prompt into a small, copy-paste friendly guide.

Inside you'll find:
- A fill-in-the-blanks prompt structure (so you can swap ingredients without starting over)
- A small idea bank (characters, outfits, cozy details, nature elements, backgrounds)
- Ready-to-copy examples (so you're never staring at a blank prompt box)
- A beginner-friendly Midjourney walkthrough (web + Discord)
- Bonus: a variation that helps the art feel more finished / print-ready (without extra design work)
Use it as a starting point, tweak the details to fit your own stories, and keep building your own little world of characters.
Let this be a starting point, not the finish line - one tiny byte of inspiration you can shape in your own way.
With love
Mădălina from Bytes of Us.
Join the Cozy Creator Mail (freebies inside)
Get mini prompt drops, behind-the-scenes process notes, creator freebies, and early access to new clipart + guides.Cozy, useful, and never spammy.
Related stories
 Creators
DIY Teddy Bear Baby Shower Decorations With Midjourney
Use Midjourney teddy bear prompts to design neutral, blue, and pink baby shower decor you can reuse.
 Creators
Watercolor Woodland Nursery Wall Art
Build a cozy woodland nursery gallery wall with printable watercolor animals, soft palettes, and simple layouts.
 Creators
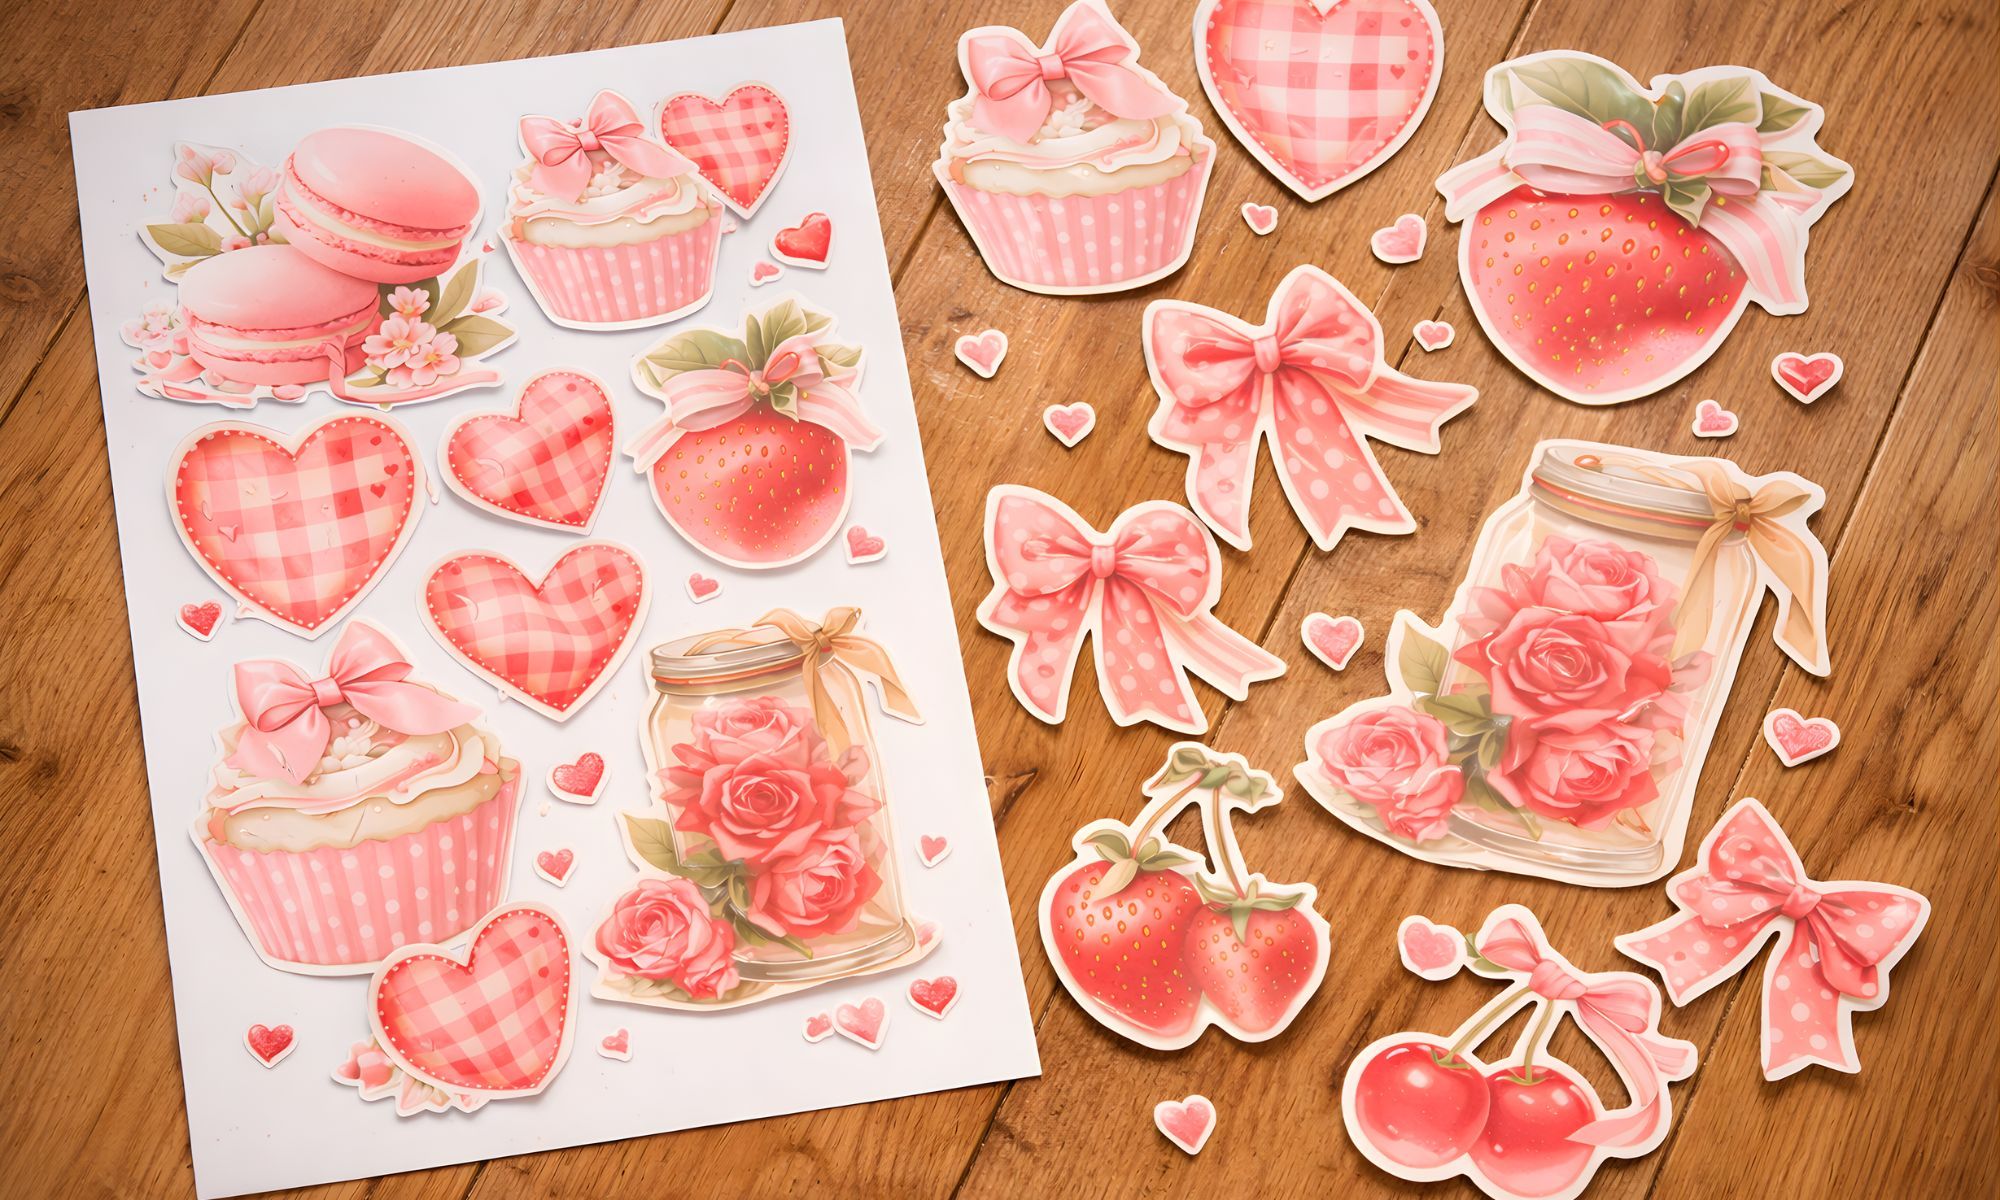
Designing Adorable Printable Valentines with AI
A gentle DIY guide to make adorable Valentine printables with clipart, Midjourney prompts, and warm, whimsical details.